

How to build a gaming PC for beginners: Putting it all together
How to build a gaming PC for beginners: Putting it all together
A few months ago, Tom's Guide put together the first part of its "How to build a gaming PC" guide. In that article, we covered which parts you'll need to construct a car every bit well equally how to select them.
Assuming you've got the parts you need (and good luck with that; information technology's a tough fourth dimension to buy a GPU), all you need to practice now is put them together.
- Buy one of the best gaming PCs
- Also consider the best gaming laptops
PC-building enthusiasts liken this to constructing a complex Lego set, and that'south somewhat authentic — if the Lego set didn't come with instructions, and every piece had the potential to break while you snapped it into the next one.
Earlier this project, I hadn't built a PC for 10 years, and I have some practiced news and bad news nigh the process. Proficient news: It is, indeed, much easier at present to build a PC now than it was a decade ago. Bad news: The process can still be pretty confusing if you're starting from scratch and working by yourself.
Here's how I put together the new Tom'south Guide test rig, and some of the pitfalls I encountered along the fashion.
Once again, this should not be taken as PC structure gospel — both PC Gamer and Tom's Hardware take more than thorough guides available for that — but hopefully, it will help other neophyte builders navigate a few common hazards and go from dreaming virtually a new PC to actually edifice ane.
1. Take stock of your parts.
Every bit a reminder, to build a gaming PC, you'll need (at minimum) a motherboard, a CPU, a GPU, some RAM, a storage device, a power supply and a instance. Equally we predicted in our original article, nosotros had to alter a few of our proposed parts based on what vendors had in stock.
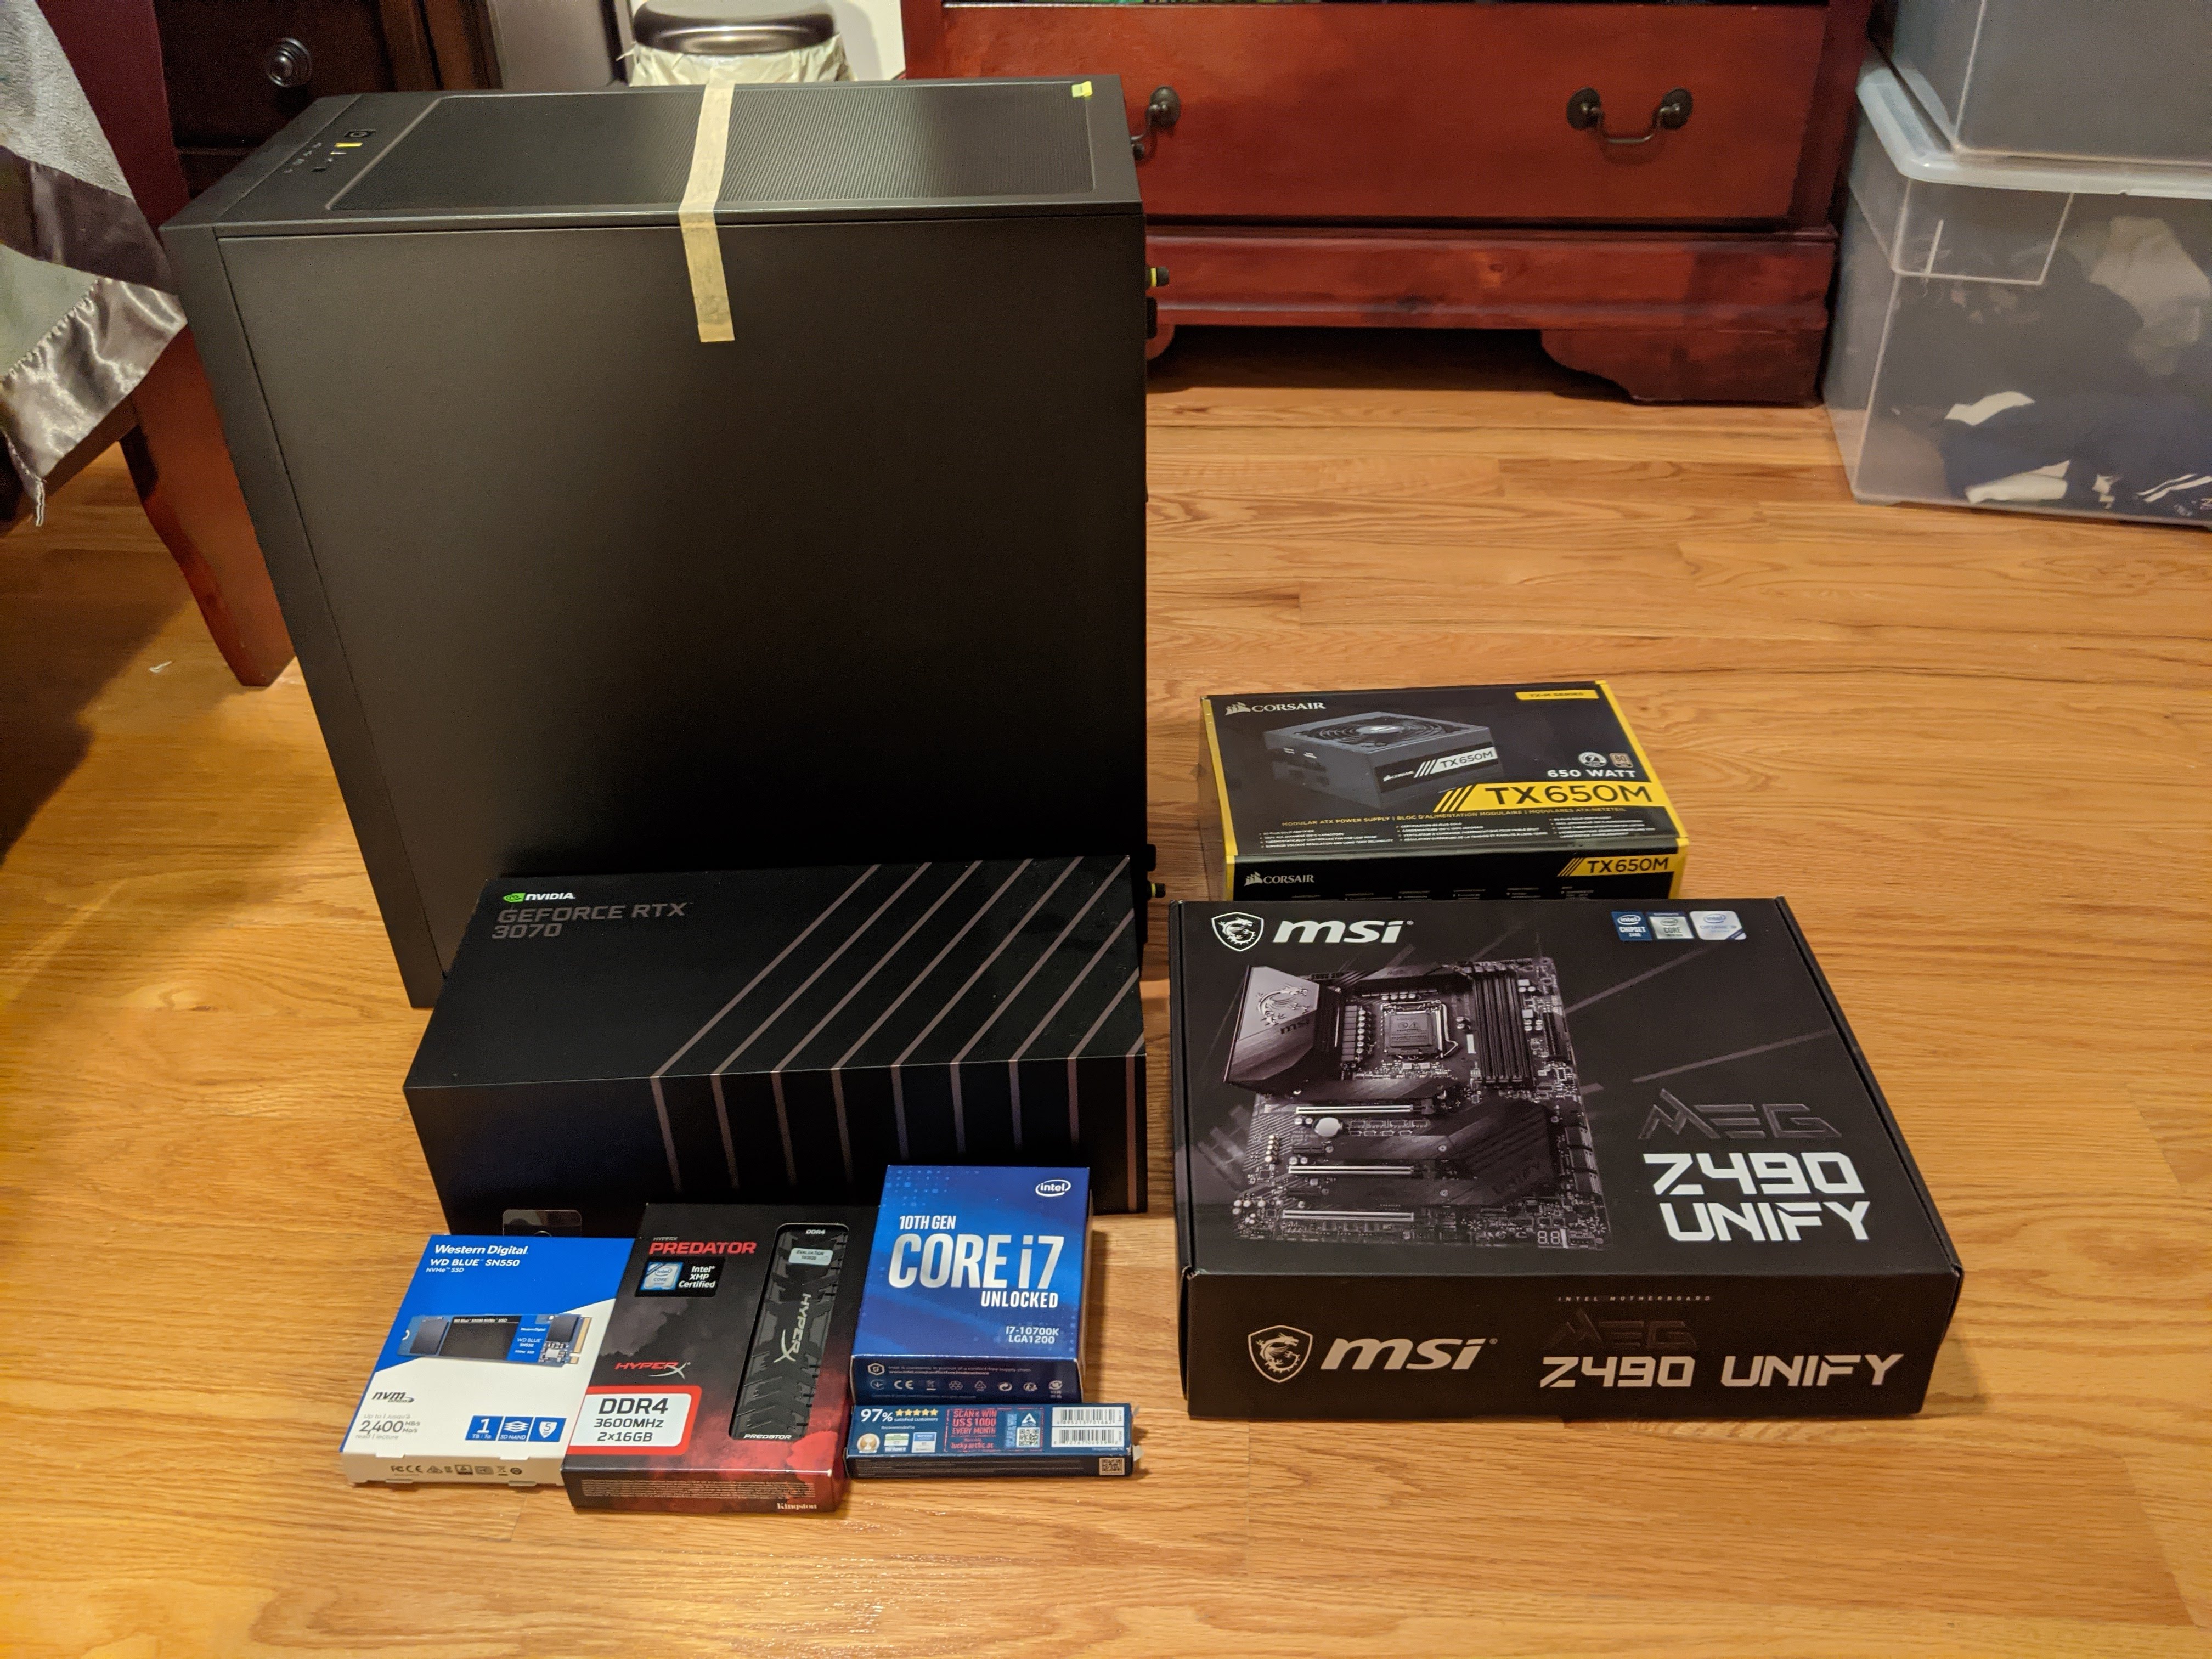
Here's our final build:
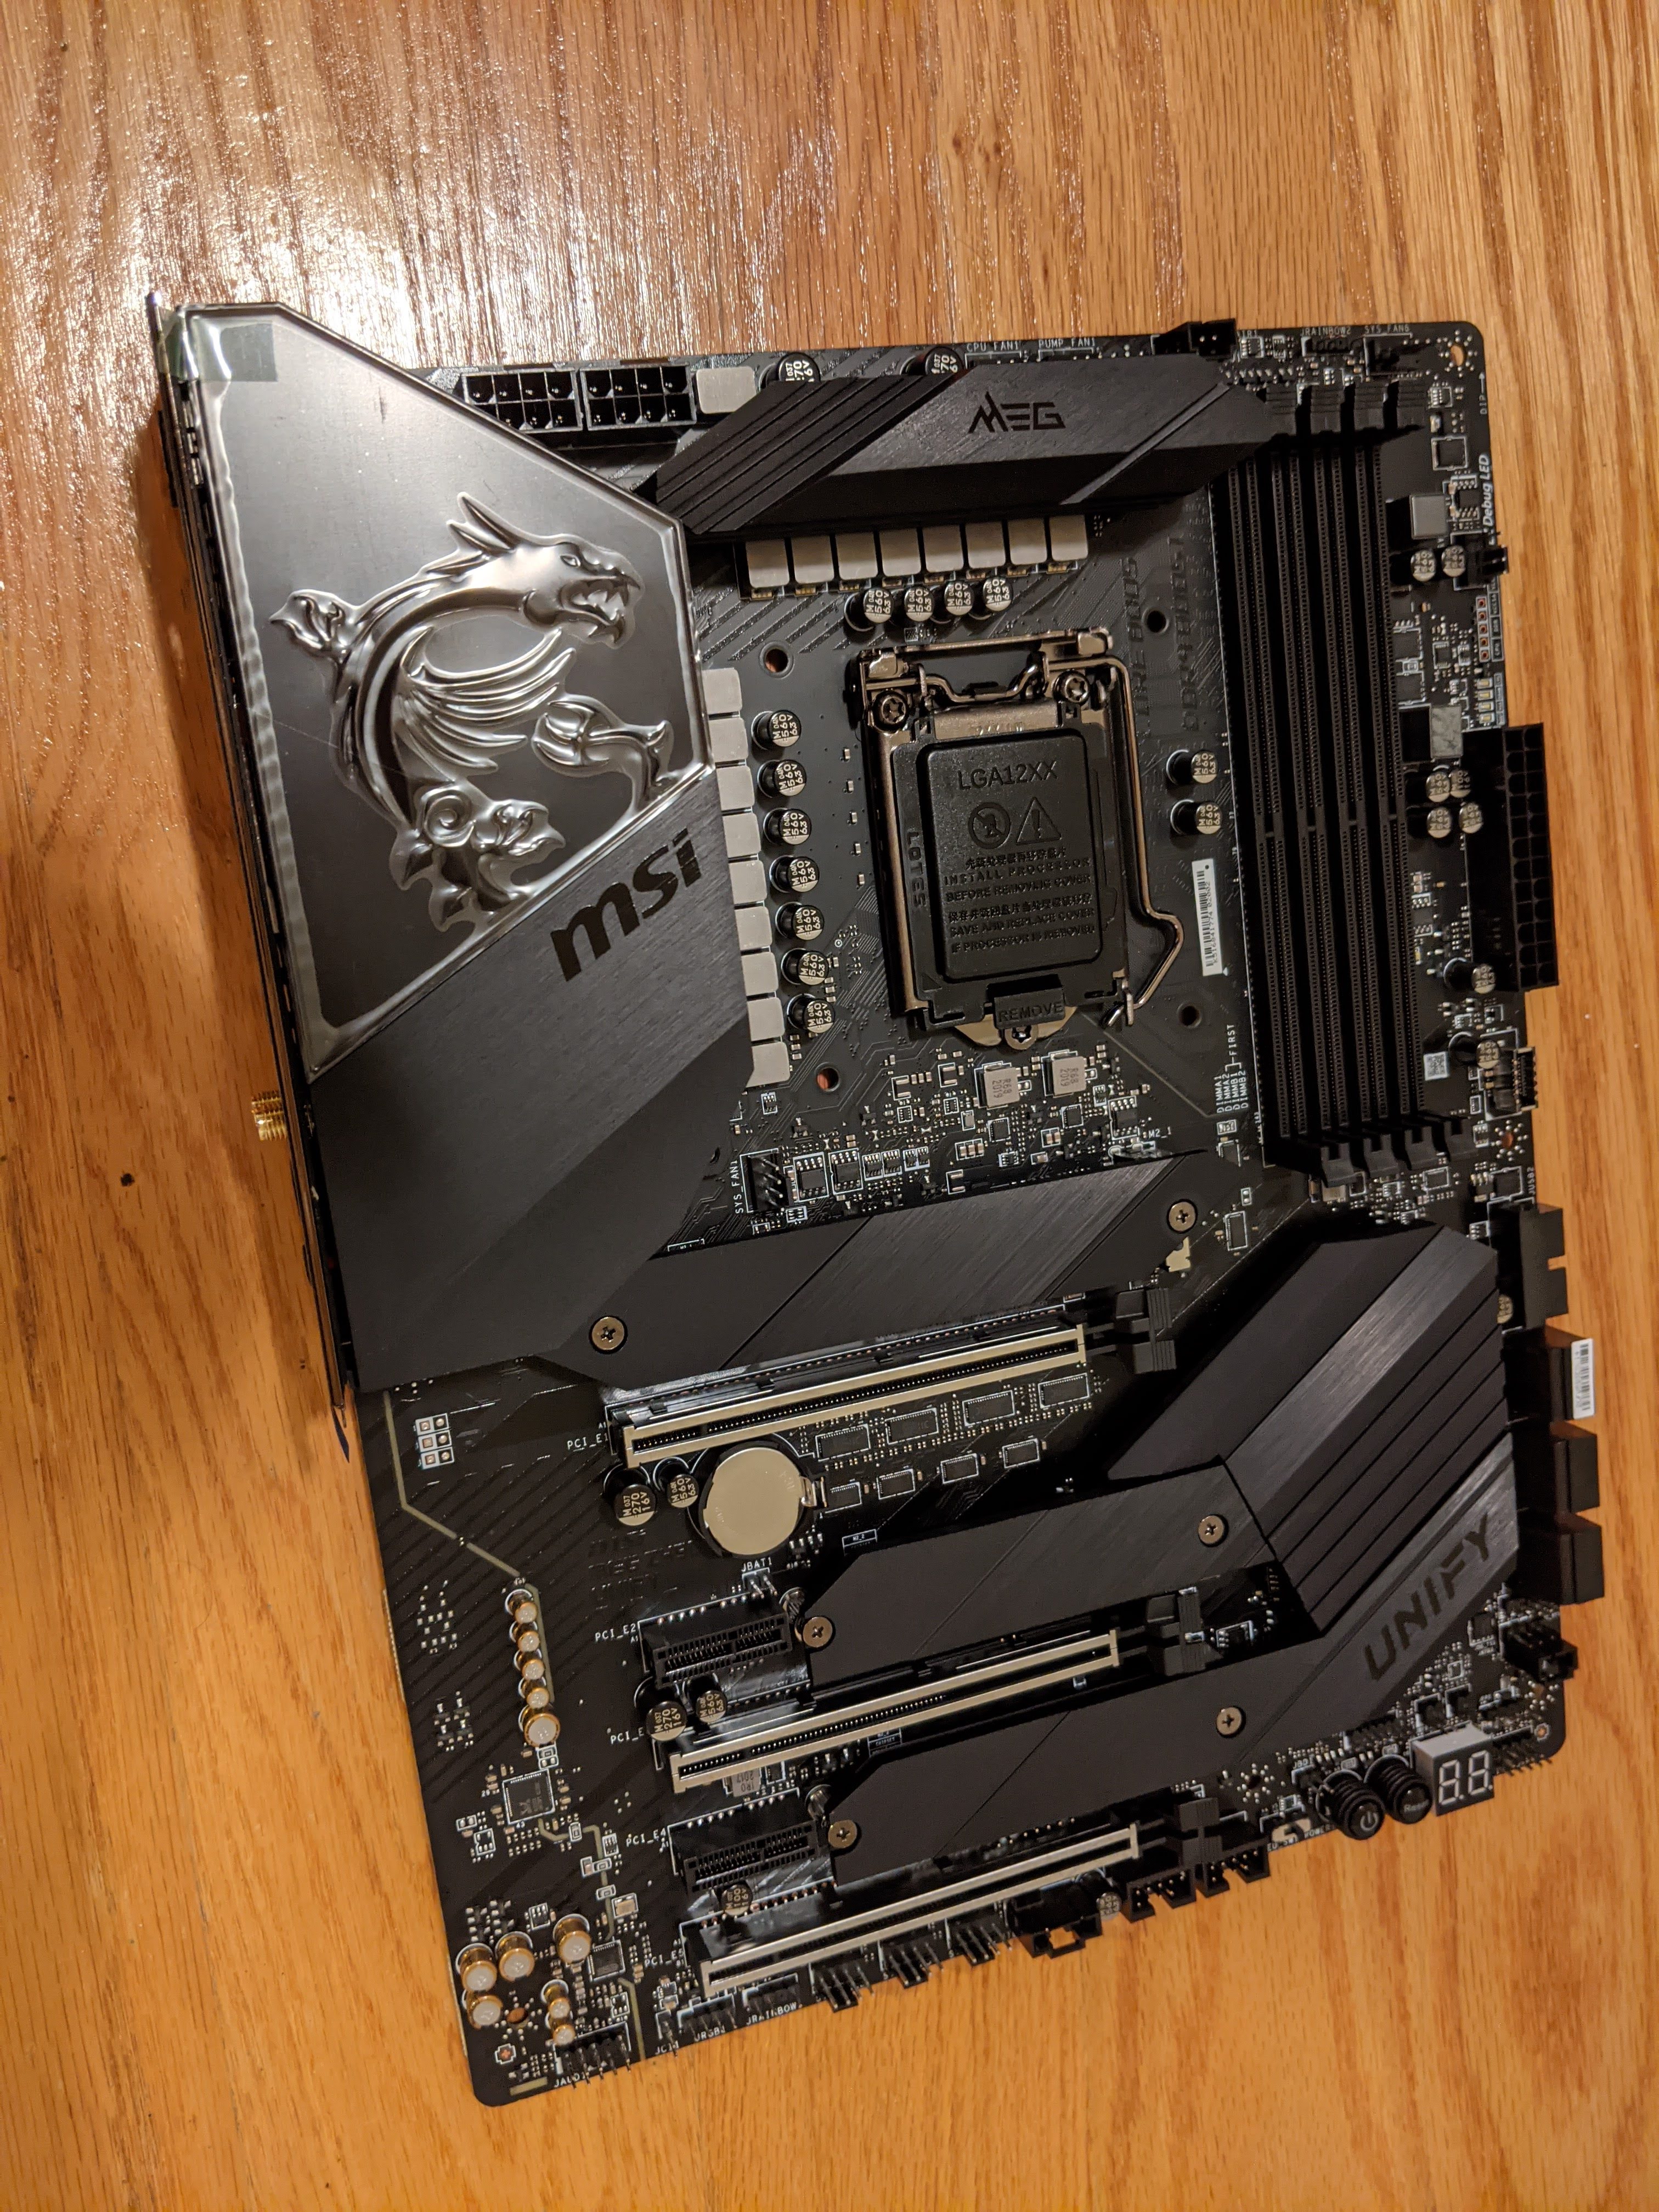
Motherboard: MSI Z490 Unify
CPU: Intel Core i7-10700K
CPU Cooler: Corsair H60
GPU: Nvidia GeForce RTX 3070
Retentivity: 32 GB HyperX Fury DDR4, 3600 MHz
Storage: i TB WD Blue, M.2 SSD
PSU: Corsair TX-M Serial TX650M
Case: Corsair 4000D
You'll besides need two small screwdrivers (i Phillips head, one flathead) and a flashlight. (Your phone will do equally a flashlight in a pinch, simply yous may also demand it to wait upwards tutorials). Extra thermal paste and some rubbing alcohol might help but may not be necessary, depending on what kind of parts you purchase.
I too had a metal bowl to ground myself by touching information technology every now and then. Some builders swear by anti-static bracelets, but these aren't very useful in everyday life, whereas a metal mixing bowl is an indispensable tool. (The bowl is also a dandy place to keep screws and other assorted connectors and then that they don't get lost.)
Once you lot take all your equipment, yous're set to begin. I had Newegg's step-by-step tutorial on how to build a PC gear up on my tablet the whole time, although at that place are plenty of other good written and video tutorials out there.
I'd recommend that beginners prepare aside at least three to four hours for this process. It may take less time, but it's a infinite-consuming endeavor and y'all don't want to go out it one-half-done.

2. Clean your workspace
This is maybe i of those "goes without saying" steps, but wherever you intend to build your PC, give the area a adept cleaning outset. Long, flat wooden surfaces are ideal, although wood can go scratched, and then take care when dealing with heavy or sharp components.
Sweep or grit the area. PC components need to stay clean, and a dirty flooring or workbench volition start your build off on the wrong pes.
To foreclose static electricity buildup, never build on a rug or carpet. I took off my socks, too — your mileage may vary on that one, particularly if you're edifice somewhere cold.
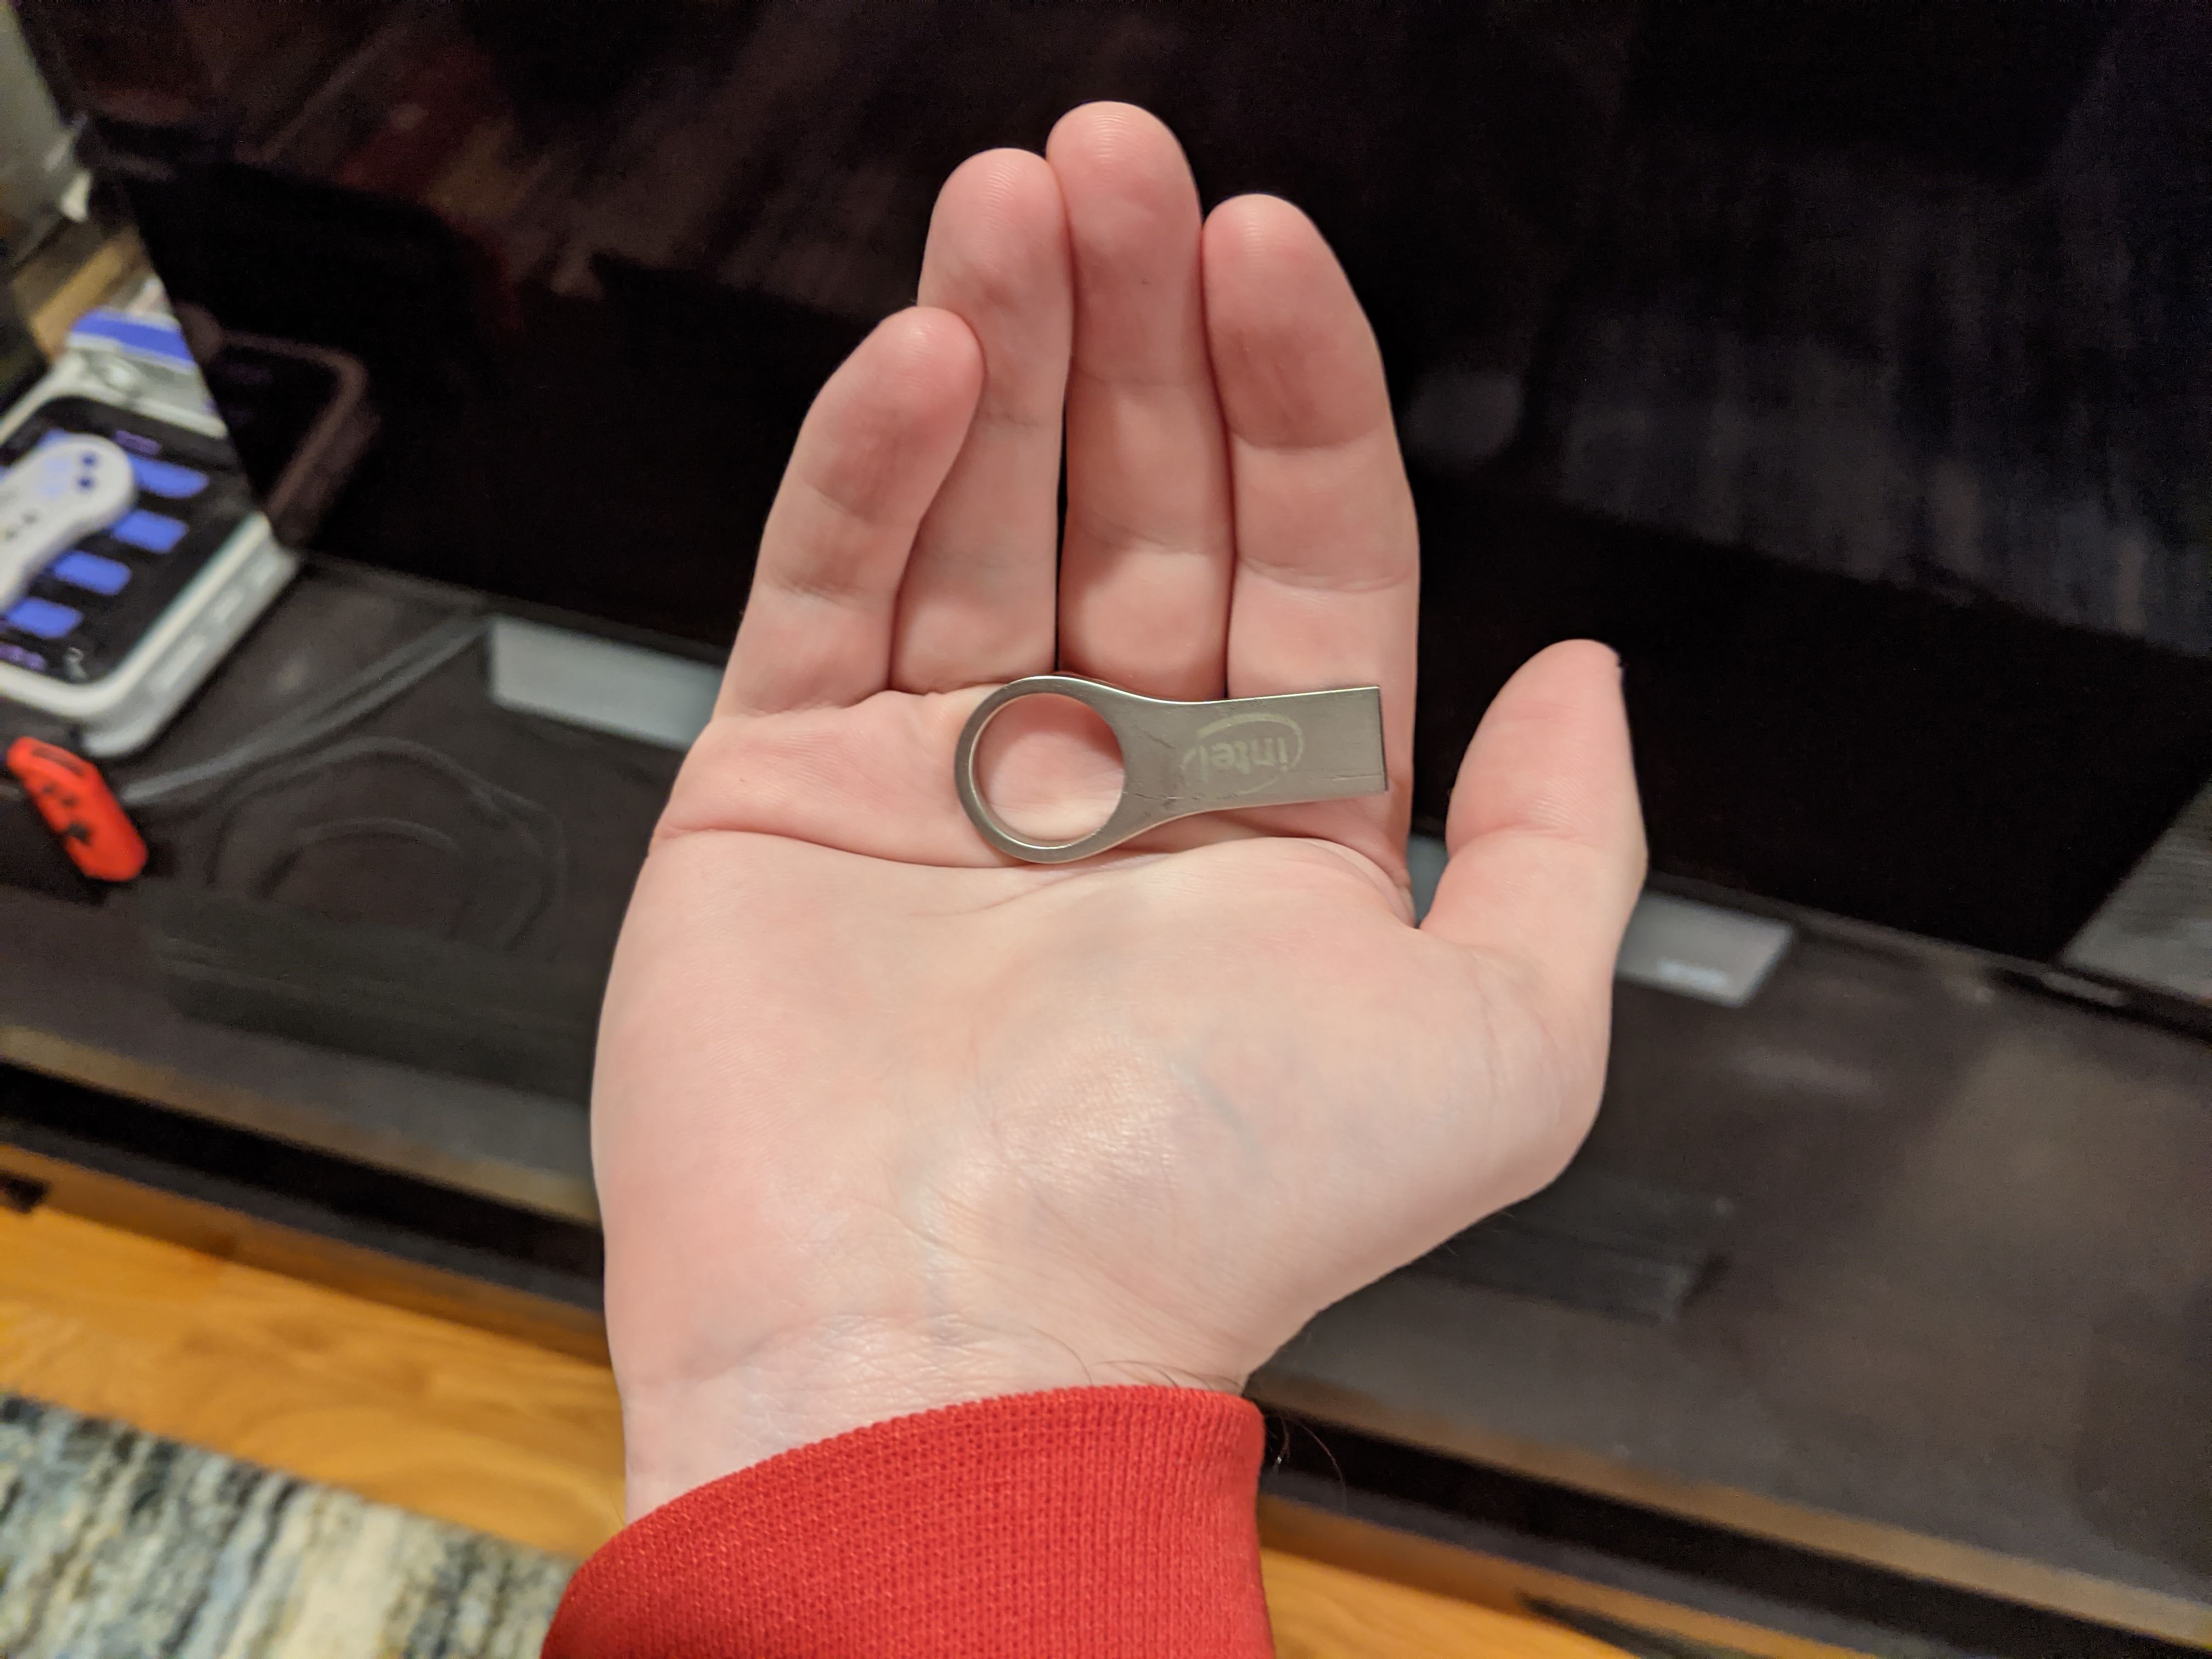
three. Go Windows ready
This is one of those steps that's easy to overlook, simply which might be much harder to do later on. Make a Windows 10 bootable USB bulldoze.
I won't become into the process of getting a license and installing Windows, since there are a lot of variables involved there, but without some version of Windows, you'll exist stuck staring at the BIOS. And in that location'due south not much to do there.
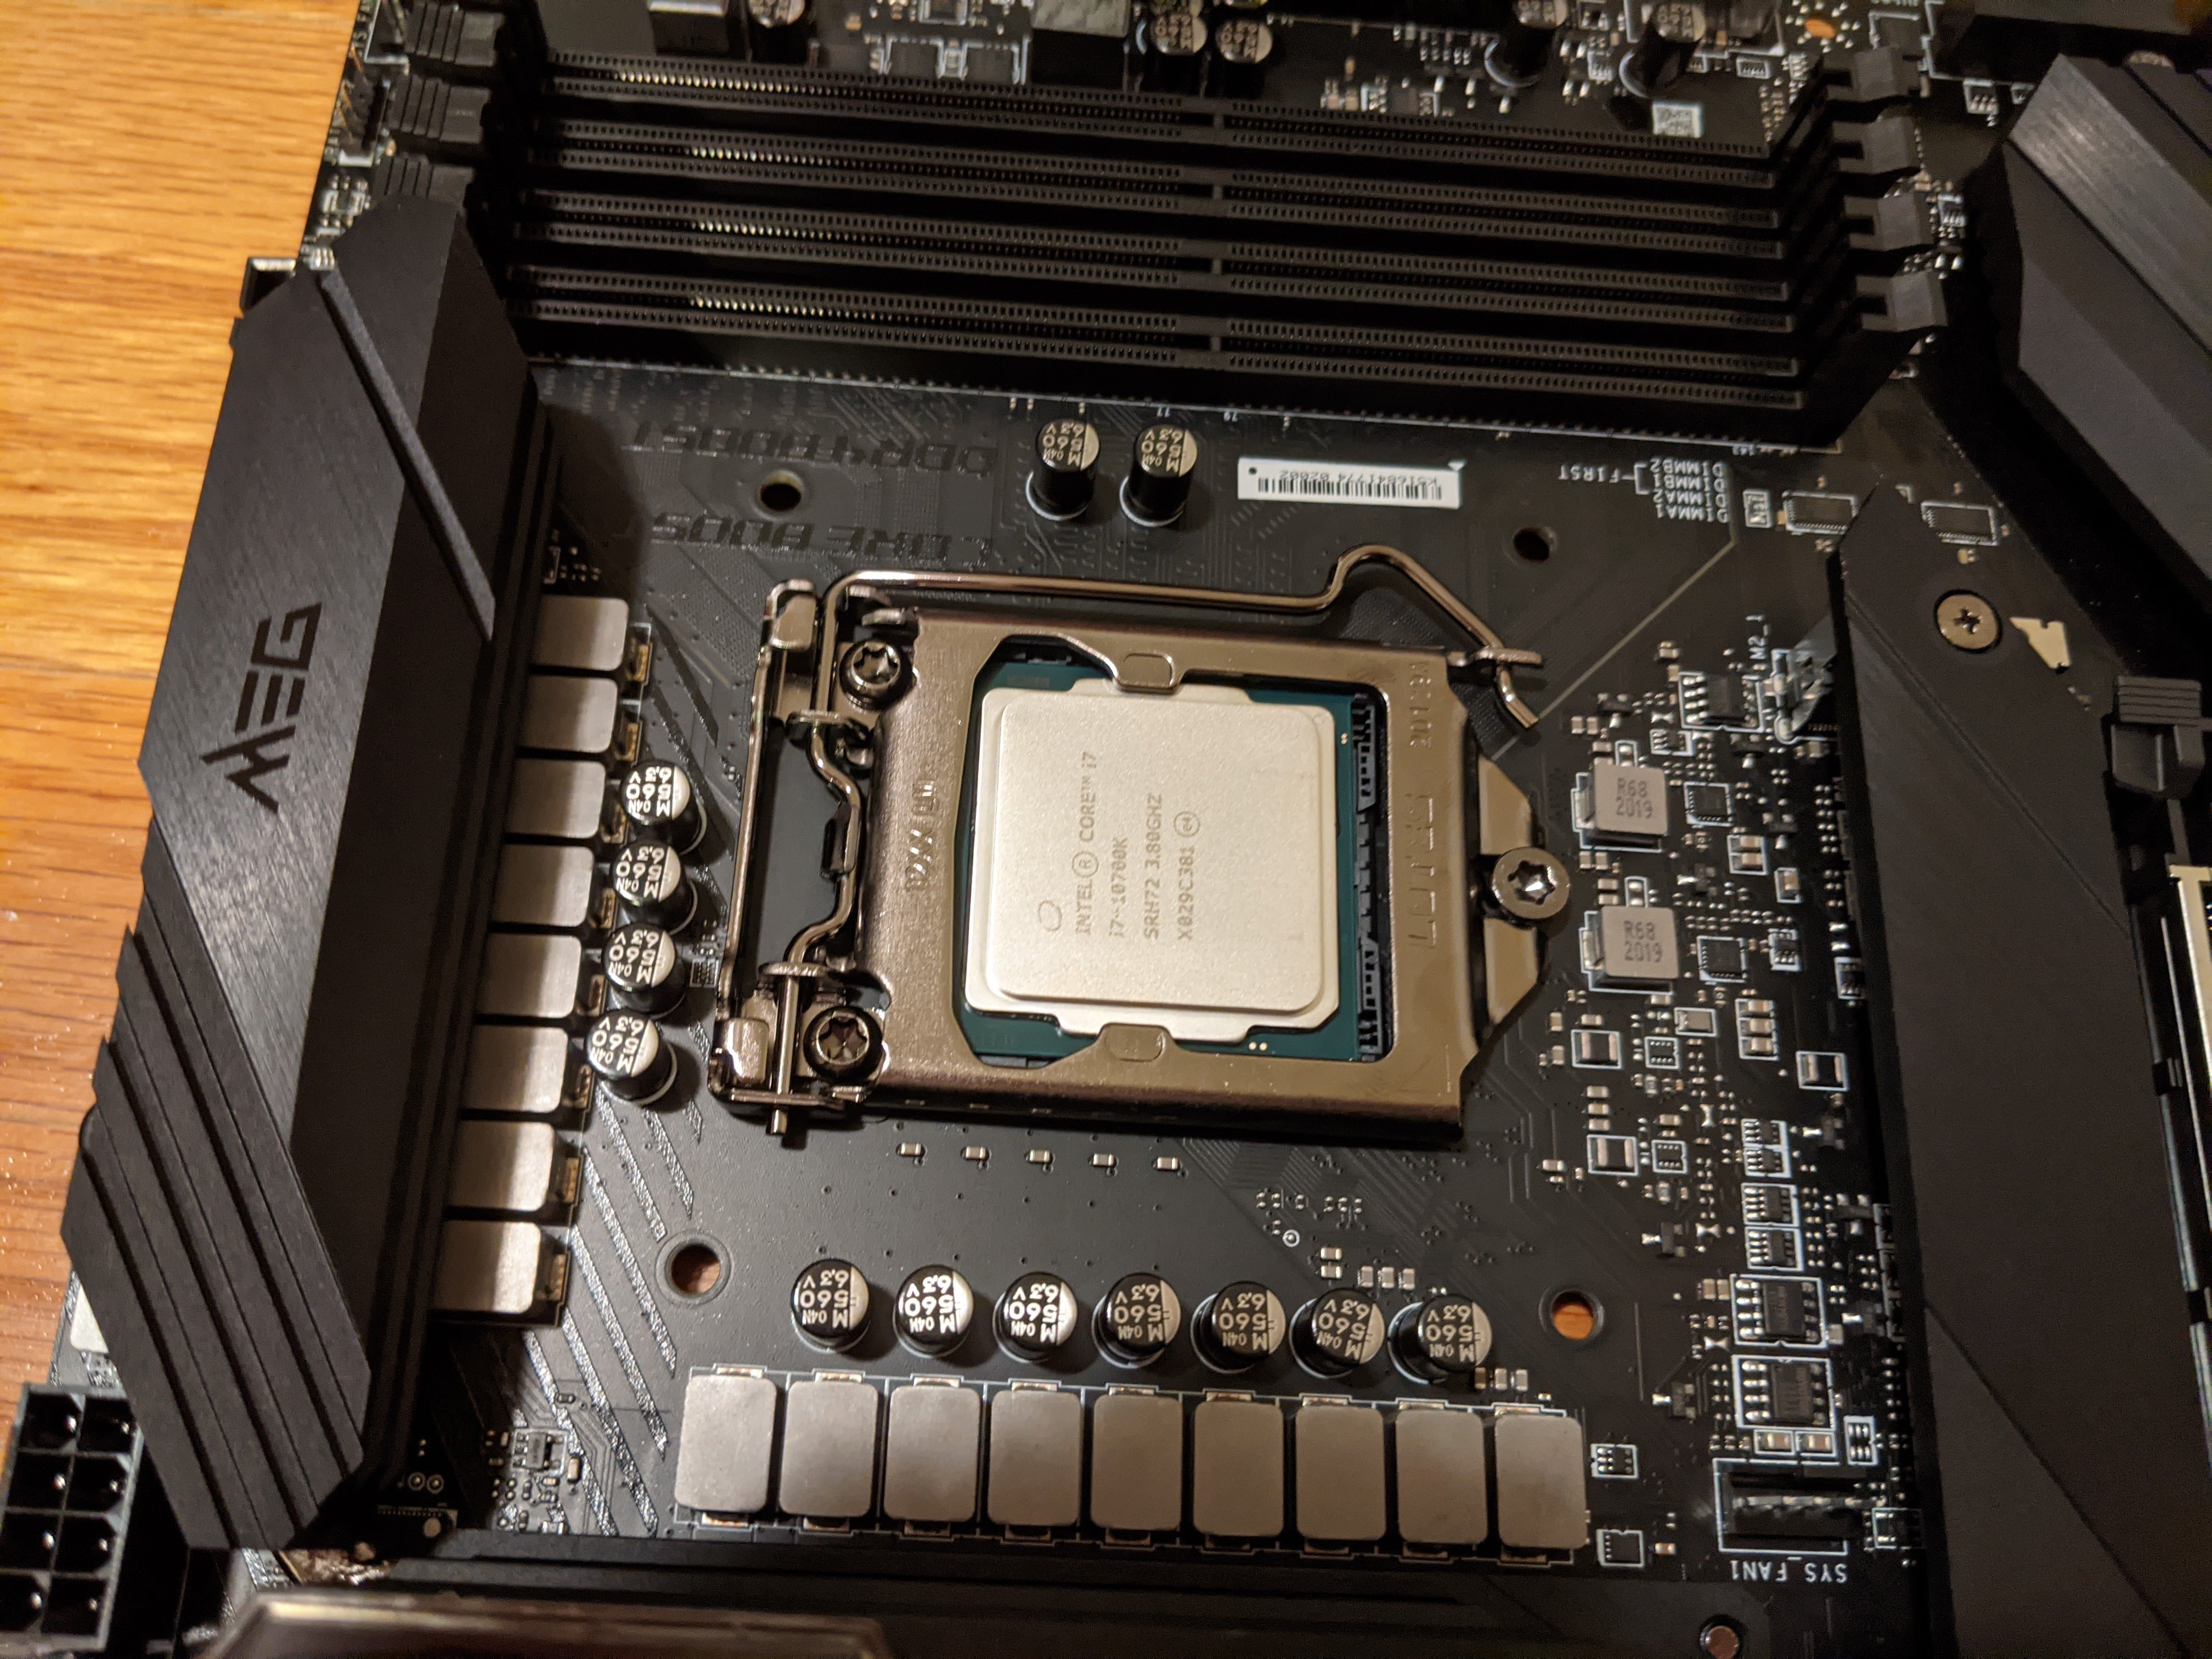
4. Install the CPU
Like a lot of PC-building steps, the process of installing a CPU can vary somewhat depending on your parts — what kind of motherboard you have, besides as whether y'all're using an AMD or an Intel bit.
Generally speaking, though, you'll find a CPU socket on the upper part of your motherboard. Simply elevator the latch, fit the CPU into place (it'due south designed to fit just 1 way; if it'south non flush, something is incorrect), and so supercede the latch.
My merely snag hither was that replacing the latch took a lot more force than I expected. You lot should await to feel some resistance, but if the latch feels like it'south well-nigh to snap, something is probably out of place.
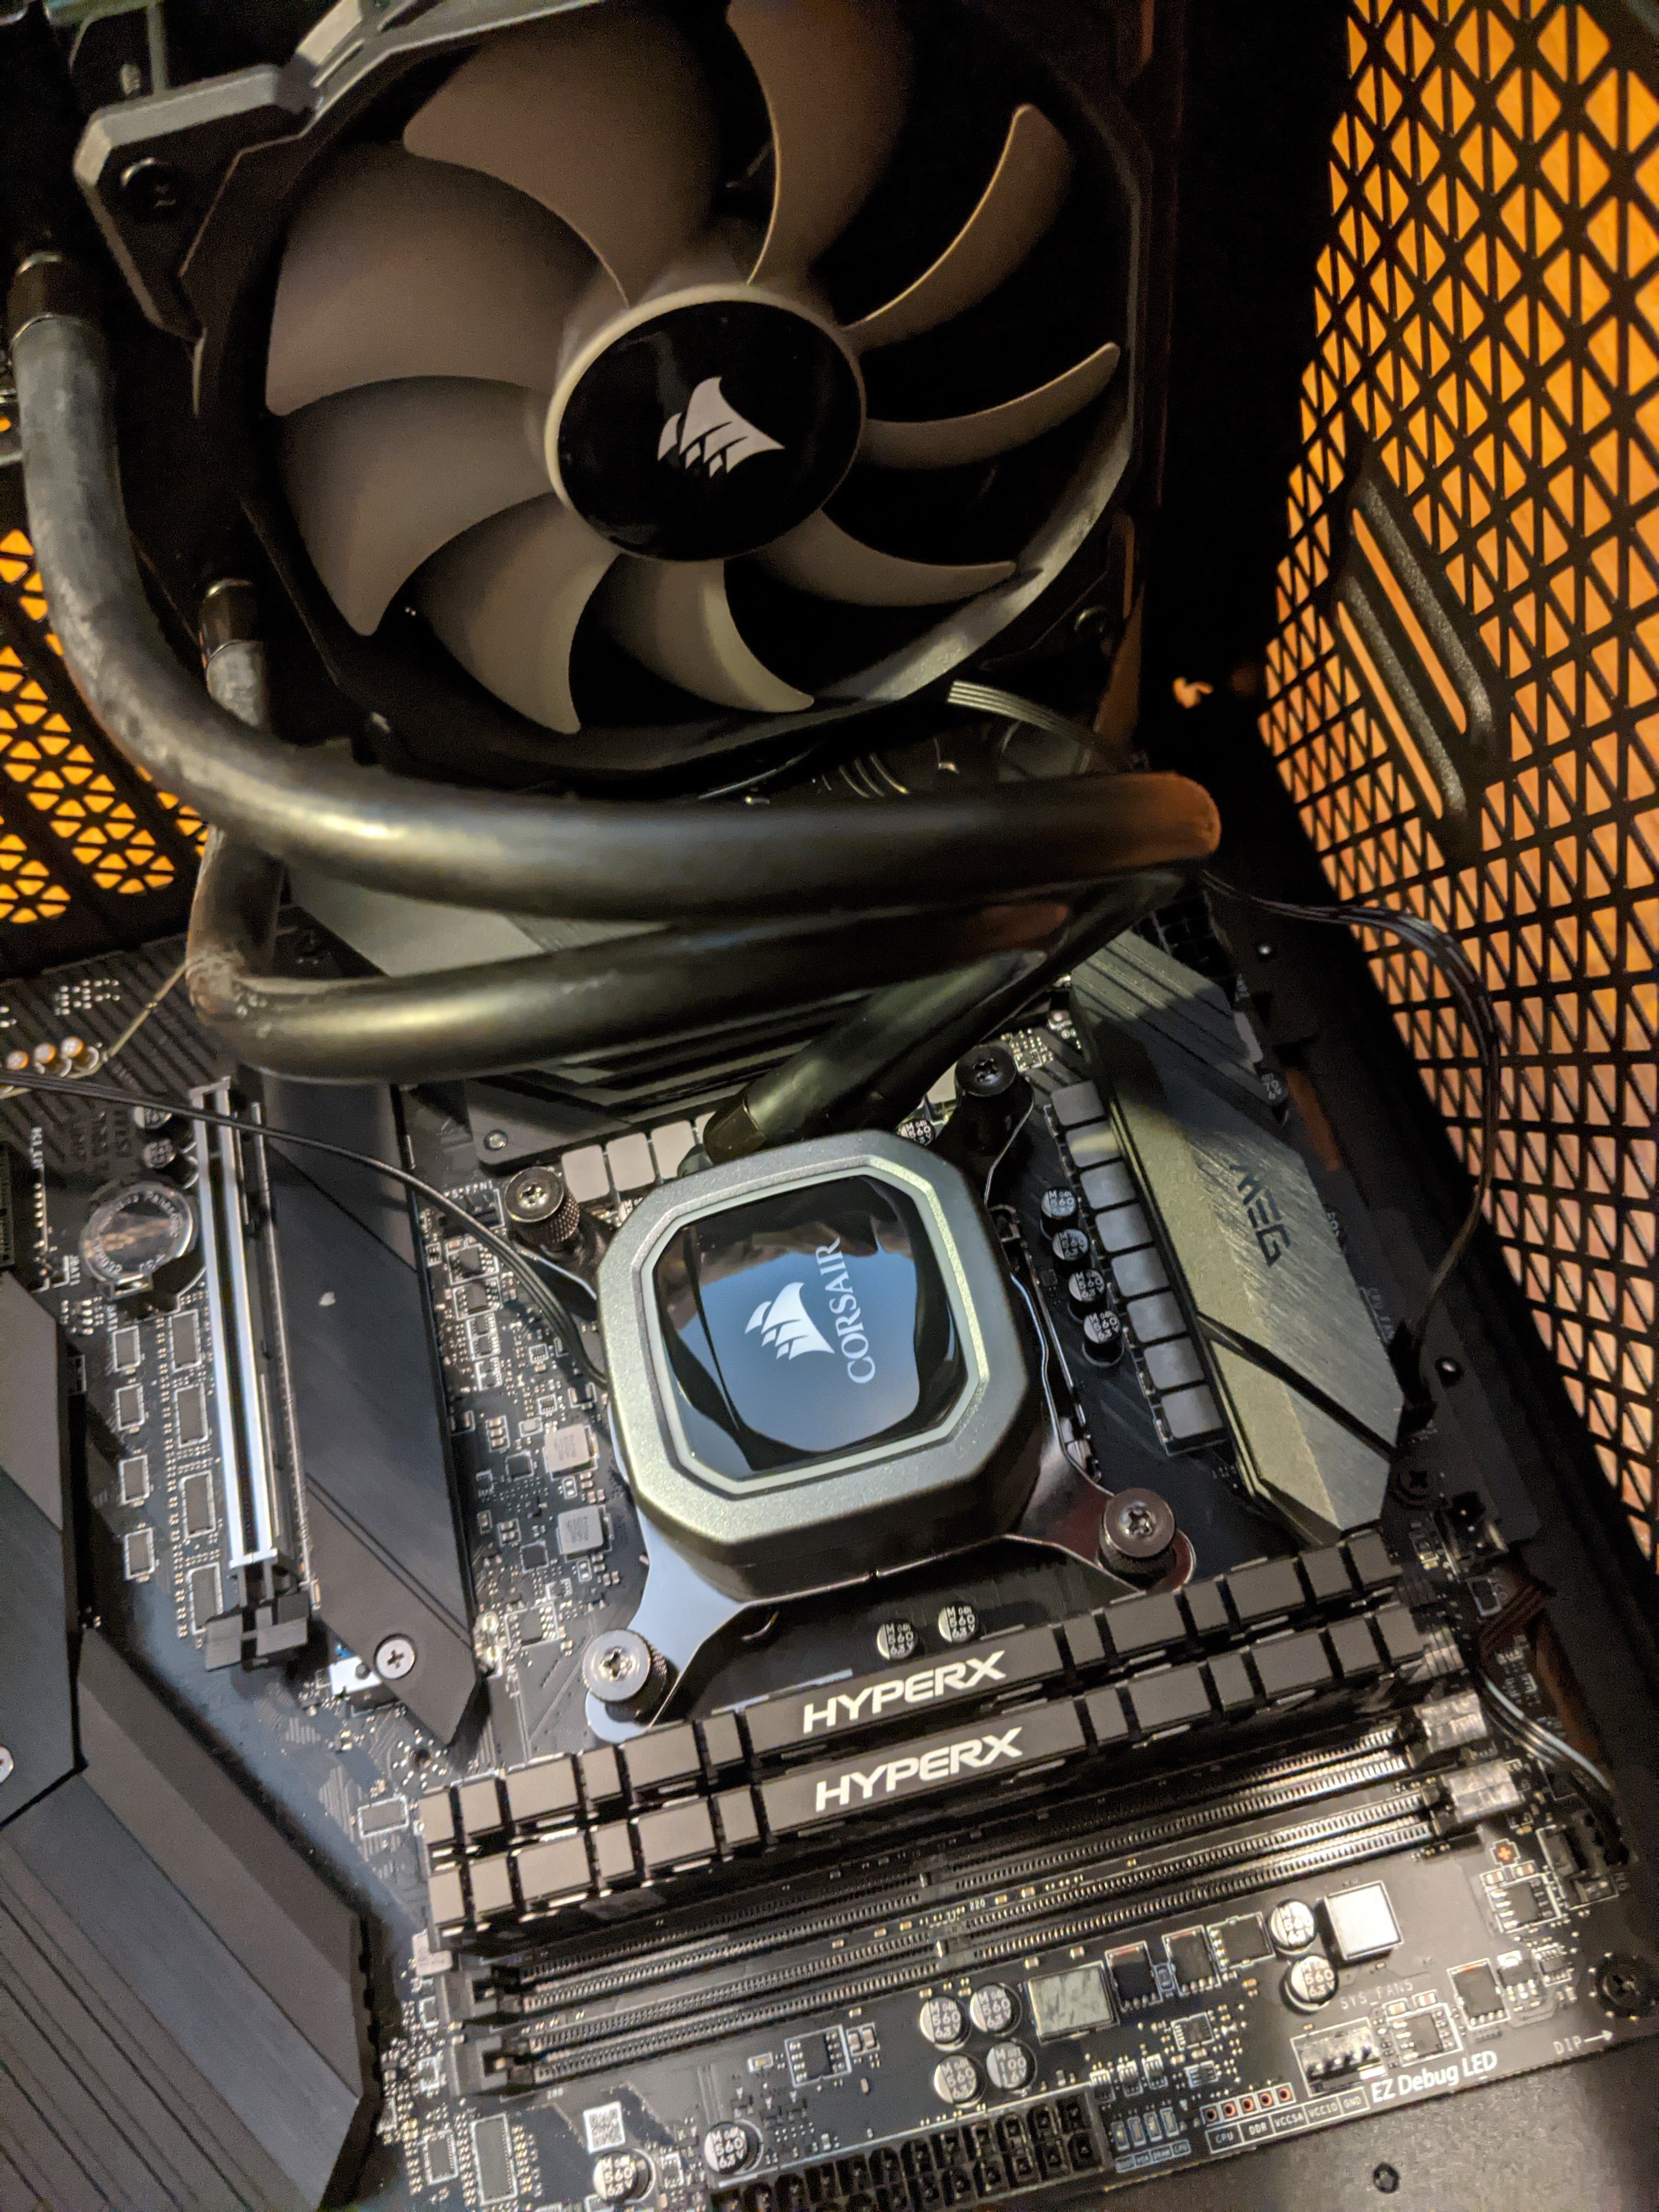
5. Install the CPU cooler
This was where I ran into my first big event. About guides recommend installing the CPU cooler right later on the CPU (understandably), but I decided to go with a liquid cooling system instead of a standard CPU fan.
At that place are pros and cons to this arroyo, and comparing the 2 cooling methods would have its own article. Suffice information technology to say that with a standard CPU fan, you tin can simply connect it and so move onto the next stride. Installing a liquid cooling system requires you to attach a fan and heatsink to your example, which means the motherboard has to already be in identify.
To compound this result, in that location'south the hotly debated question of whether the fan or the radiator should be screwed straight to the instance. For me at to the lowest degree, that opened up another whole rabbit pigsty nearly how many fans you demand and where you should place them.
It was a confusing, frustrating part of the PC-building process, peculiarly since the Corsair H60's written instructions recommended one configuration, and its official video recommended a totally different one.
The bottom line here is this: If you accept a fan, install it at this phase. If you have a liquid cooling organisation, install the backplate at present and save the fan hookup for later. The specifics here volition vary, then refer to your instruction manual.
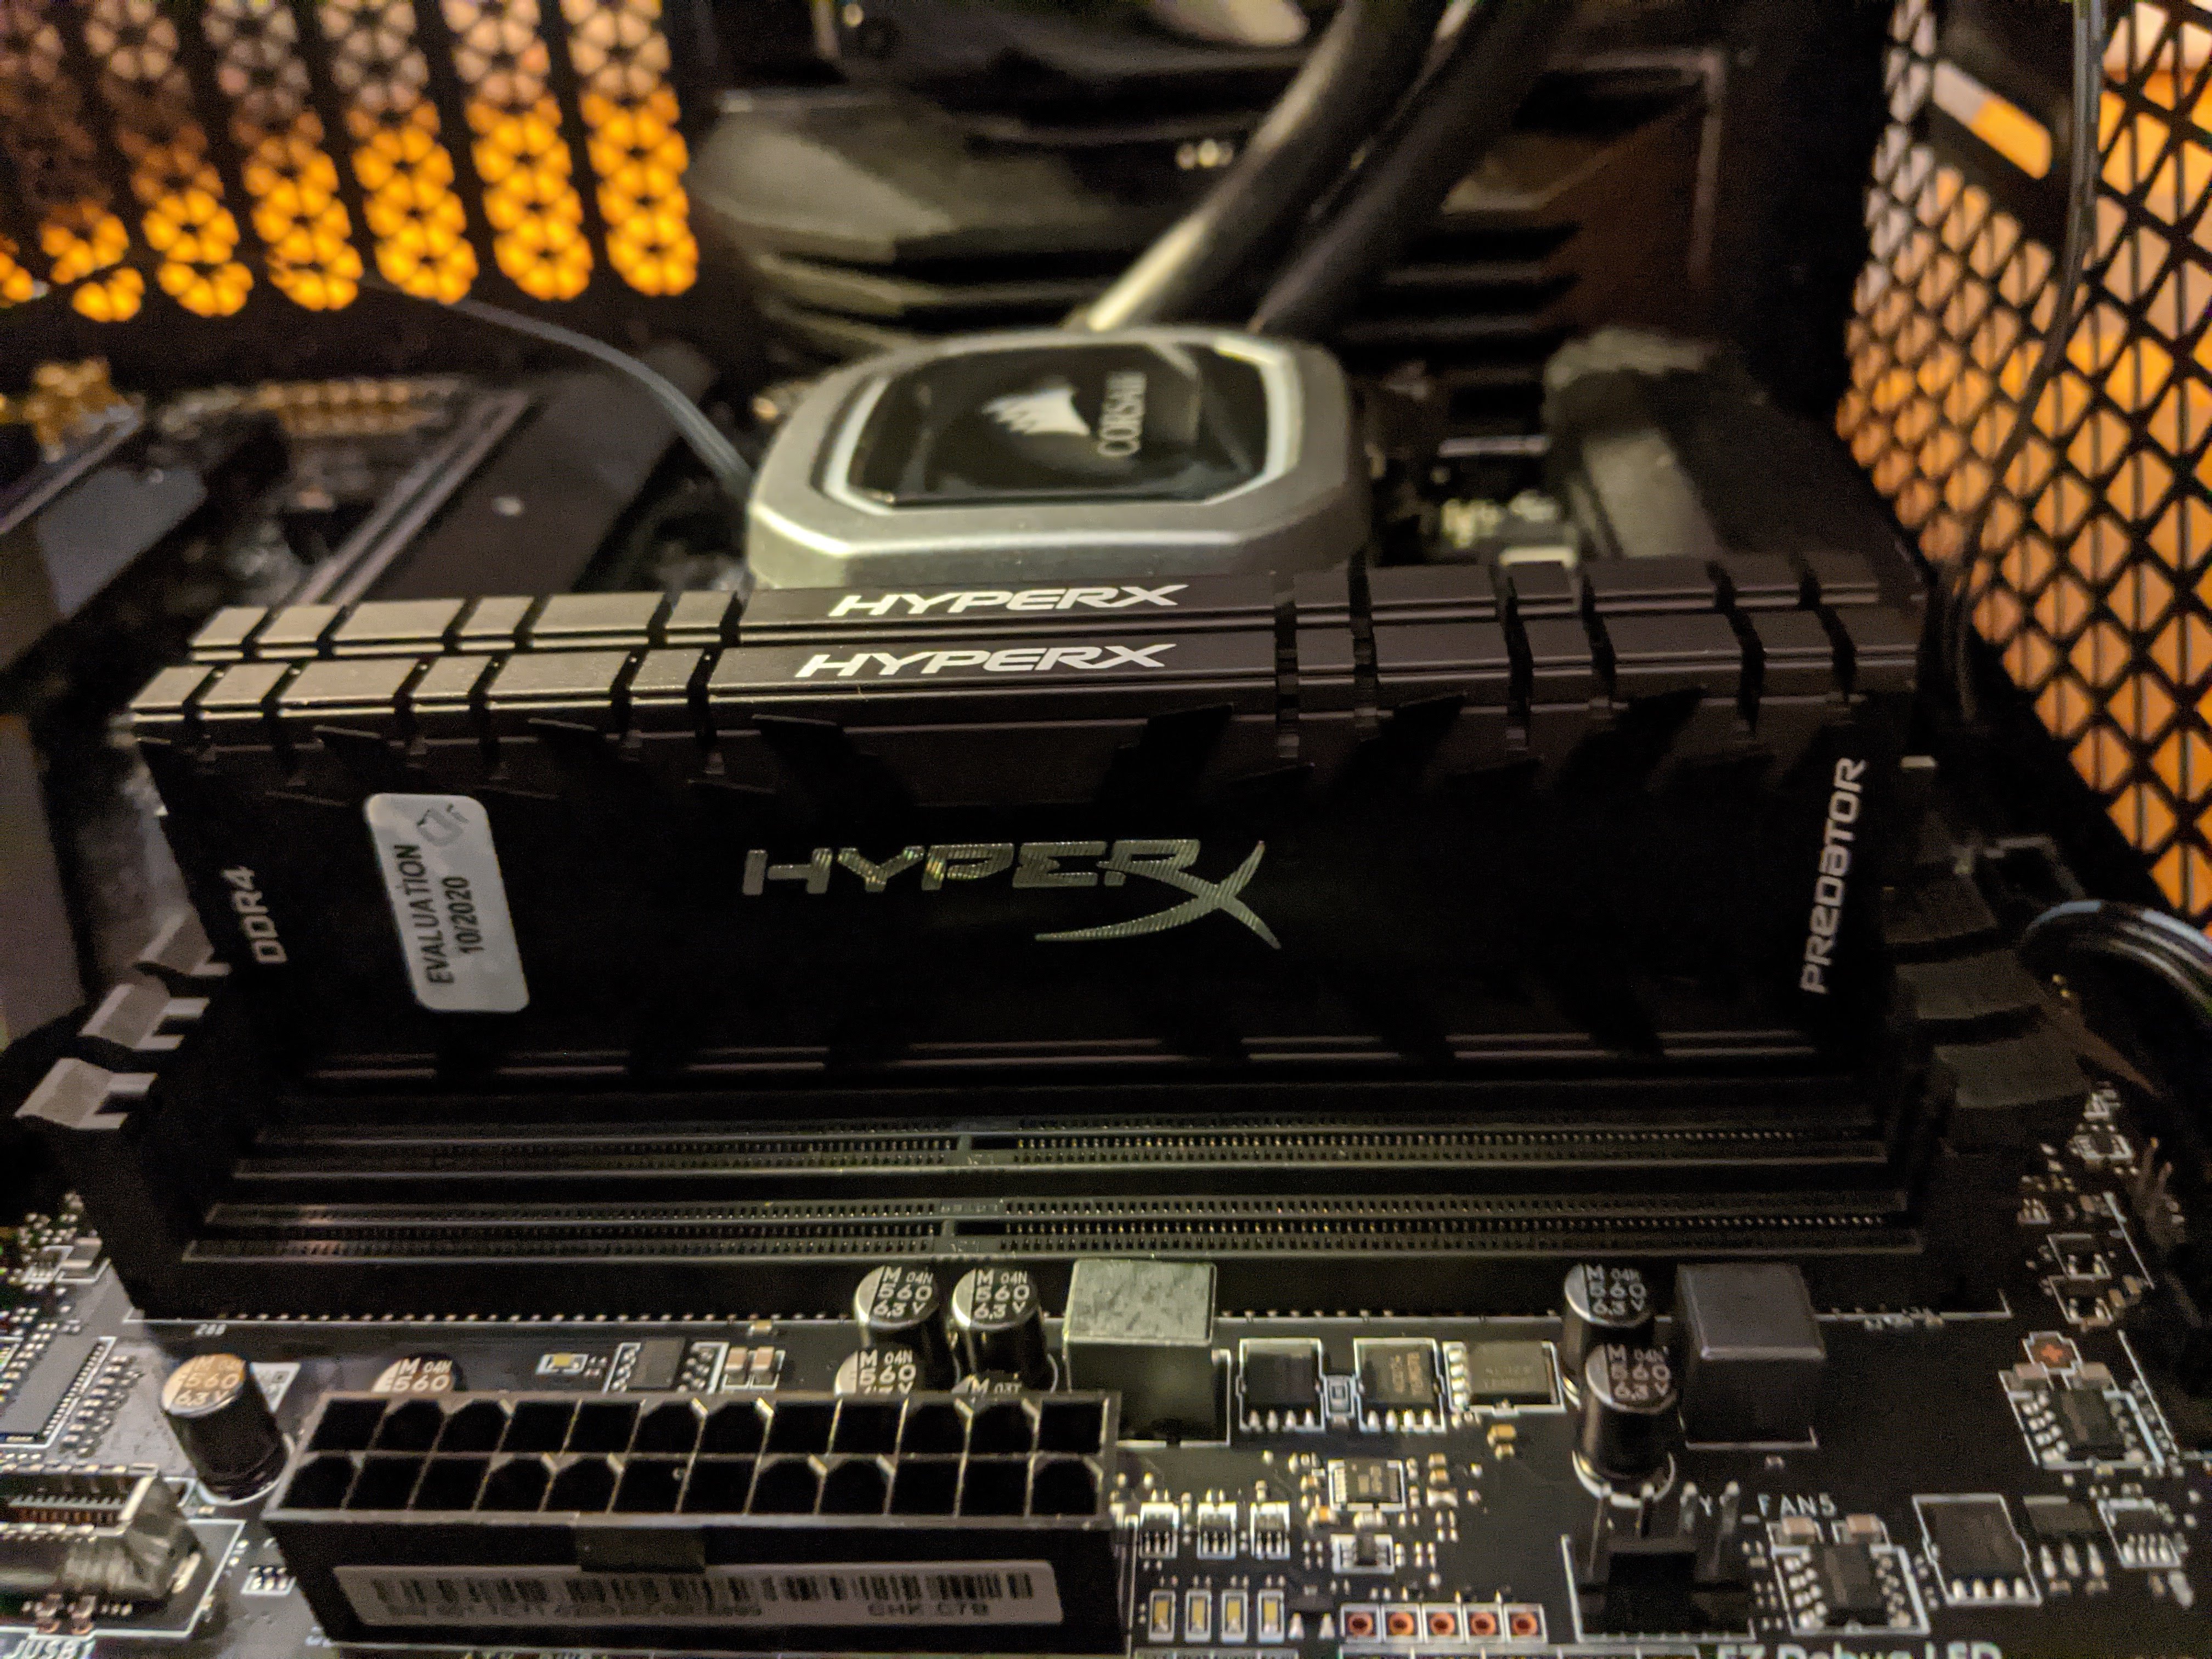
half dozen. Insert the RAM
It is perhaps fitting that the virtually fraught part of PC structure is followed by the most foolproof. If you've never installed RAM before, information technology'due south one of the easiest ways to upgrade your PC.
Simply observe the RAM slots (there are commonly four, sometimes vi), unlock the slot'south clasp(s), figure out which style the RAM module is supposed to face (at that place is a pocket-size, asymmetrical hole in the lesser where information technology fits into the slot) and snap it into place. Near motherboards are optimized for RAM in the 2d and fourth slots; yours may vary. Just make sure that the RAM is fully snapped in on both sides and you tin't go wrong.
7. Plug in your storage
"Storage" is a vague term, since it tin refer to solid state drives or hard disk drive drives in a variety of different concrete configurations. Depending on what you lot bought, you lot may have to attach one tiny M.2 SSD directly to the motherboard, or you may have to maneuver a huge, blocky HDD into a specialized bulldoze bay.
Either manner, information technology's not besides difficult. Each type of storage drive will have a dedicated slot on your motherboard or bay in your case, and then all you have to do is snap (or spiral) it into the proper configuration and attach whatsoever necessary cables. As always, let your instruction manual be your guide.
8. Attach the motherboard
Y'all could technically adhere the motherboard to your case at whatsoever fourth dimension during this process, but generally, getting all the small pieces installed earlier you lot lock all of your hardware into a cramped frame is a smart idea.
Luckily, attaching the motherboard is a painless process, every bit there's actually only one manner it tin get in. Mine had nine screws, and my case already had standoffs — pocket-sized screw mounts that keep the motherboard away from the case — built in. If yours doesn't, be certain to adhere the standoffs outset, as you actually don't want the motherboard making direct contact with a metallic case frame. (If you're not certain why, enquire an electrician — or try building your own excursion.)
I didn't have any trouble with this step, although I debated whether I really needed to utilise the tiny washers included with the screws. More experienced PC builders also have mixed feelings, then use your judgment.
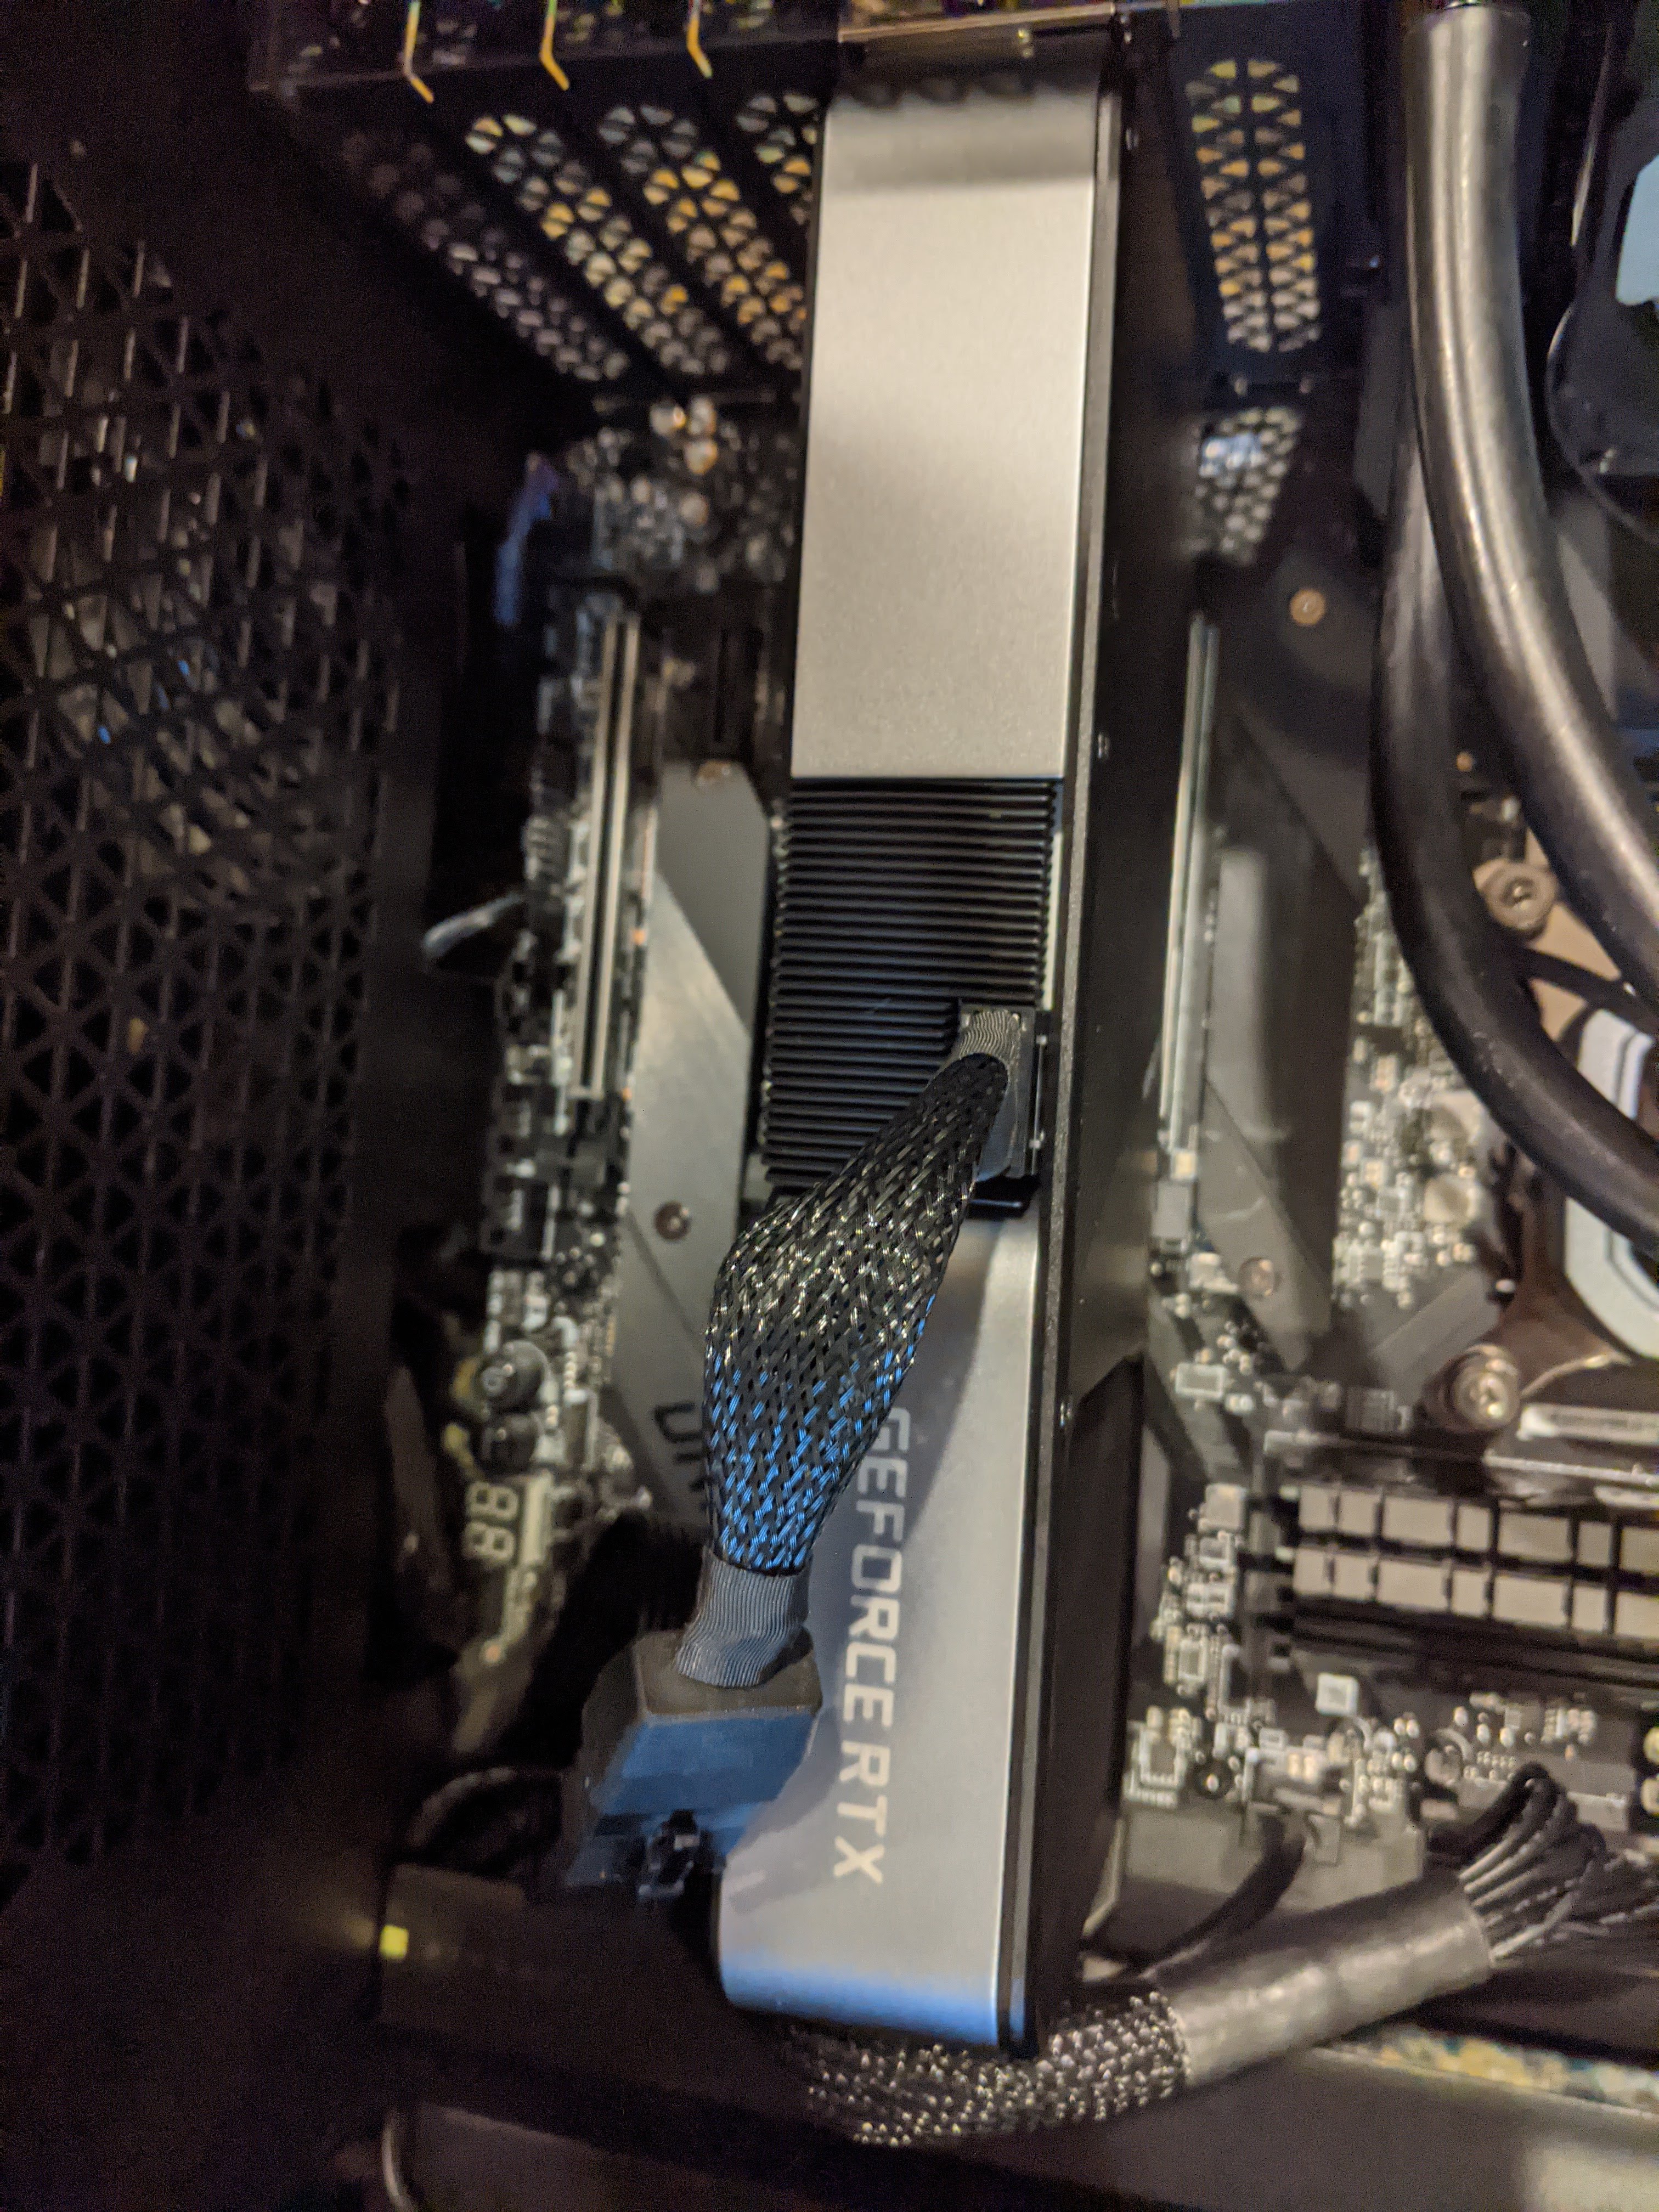
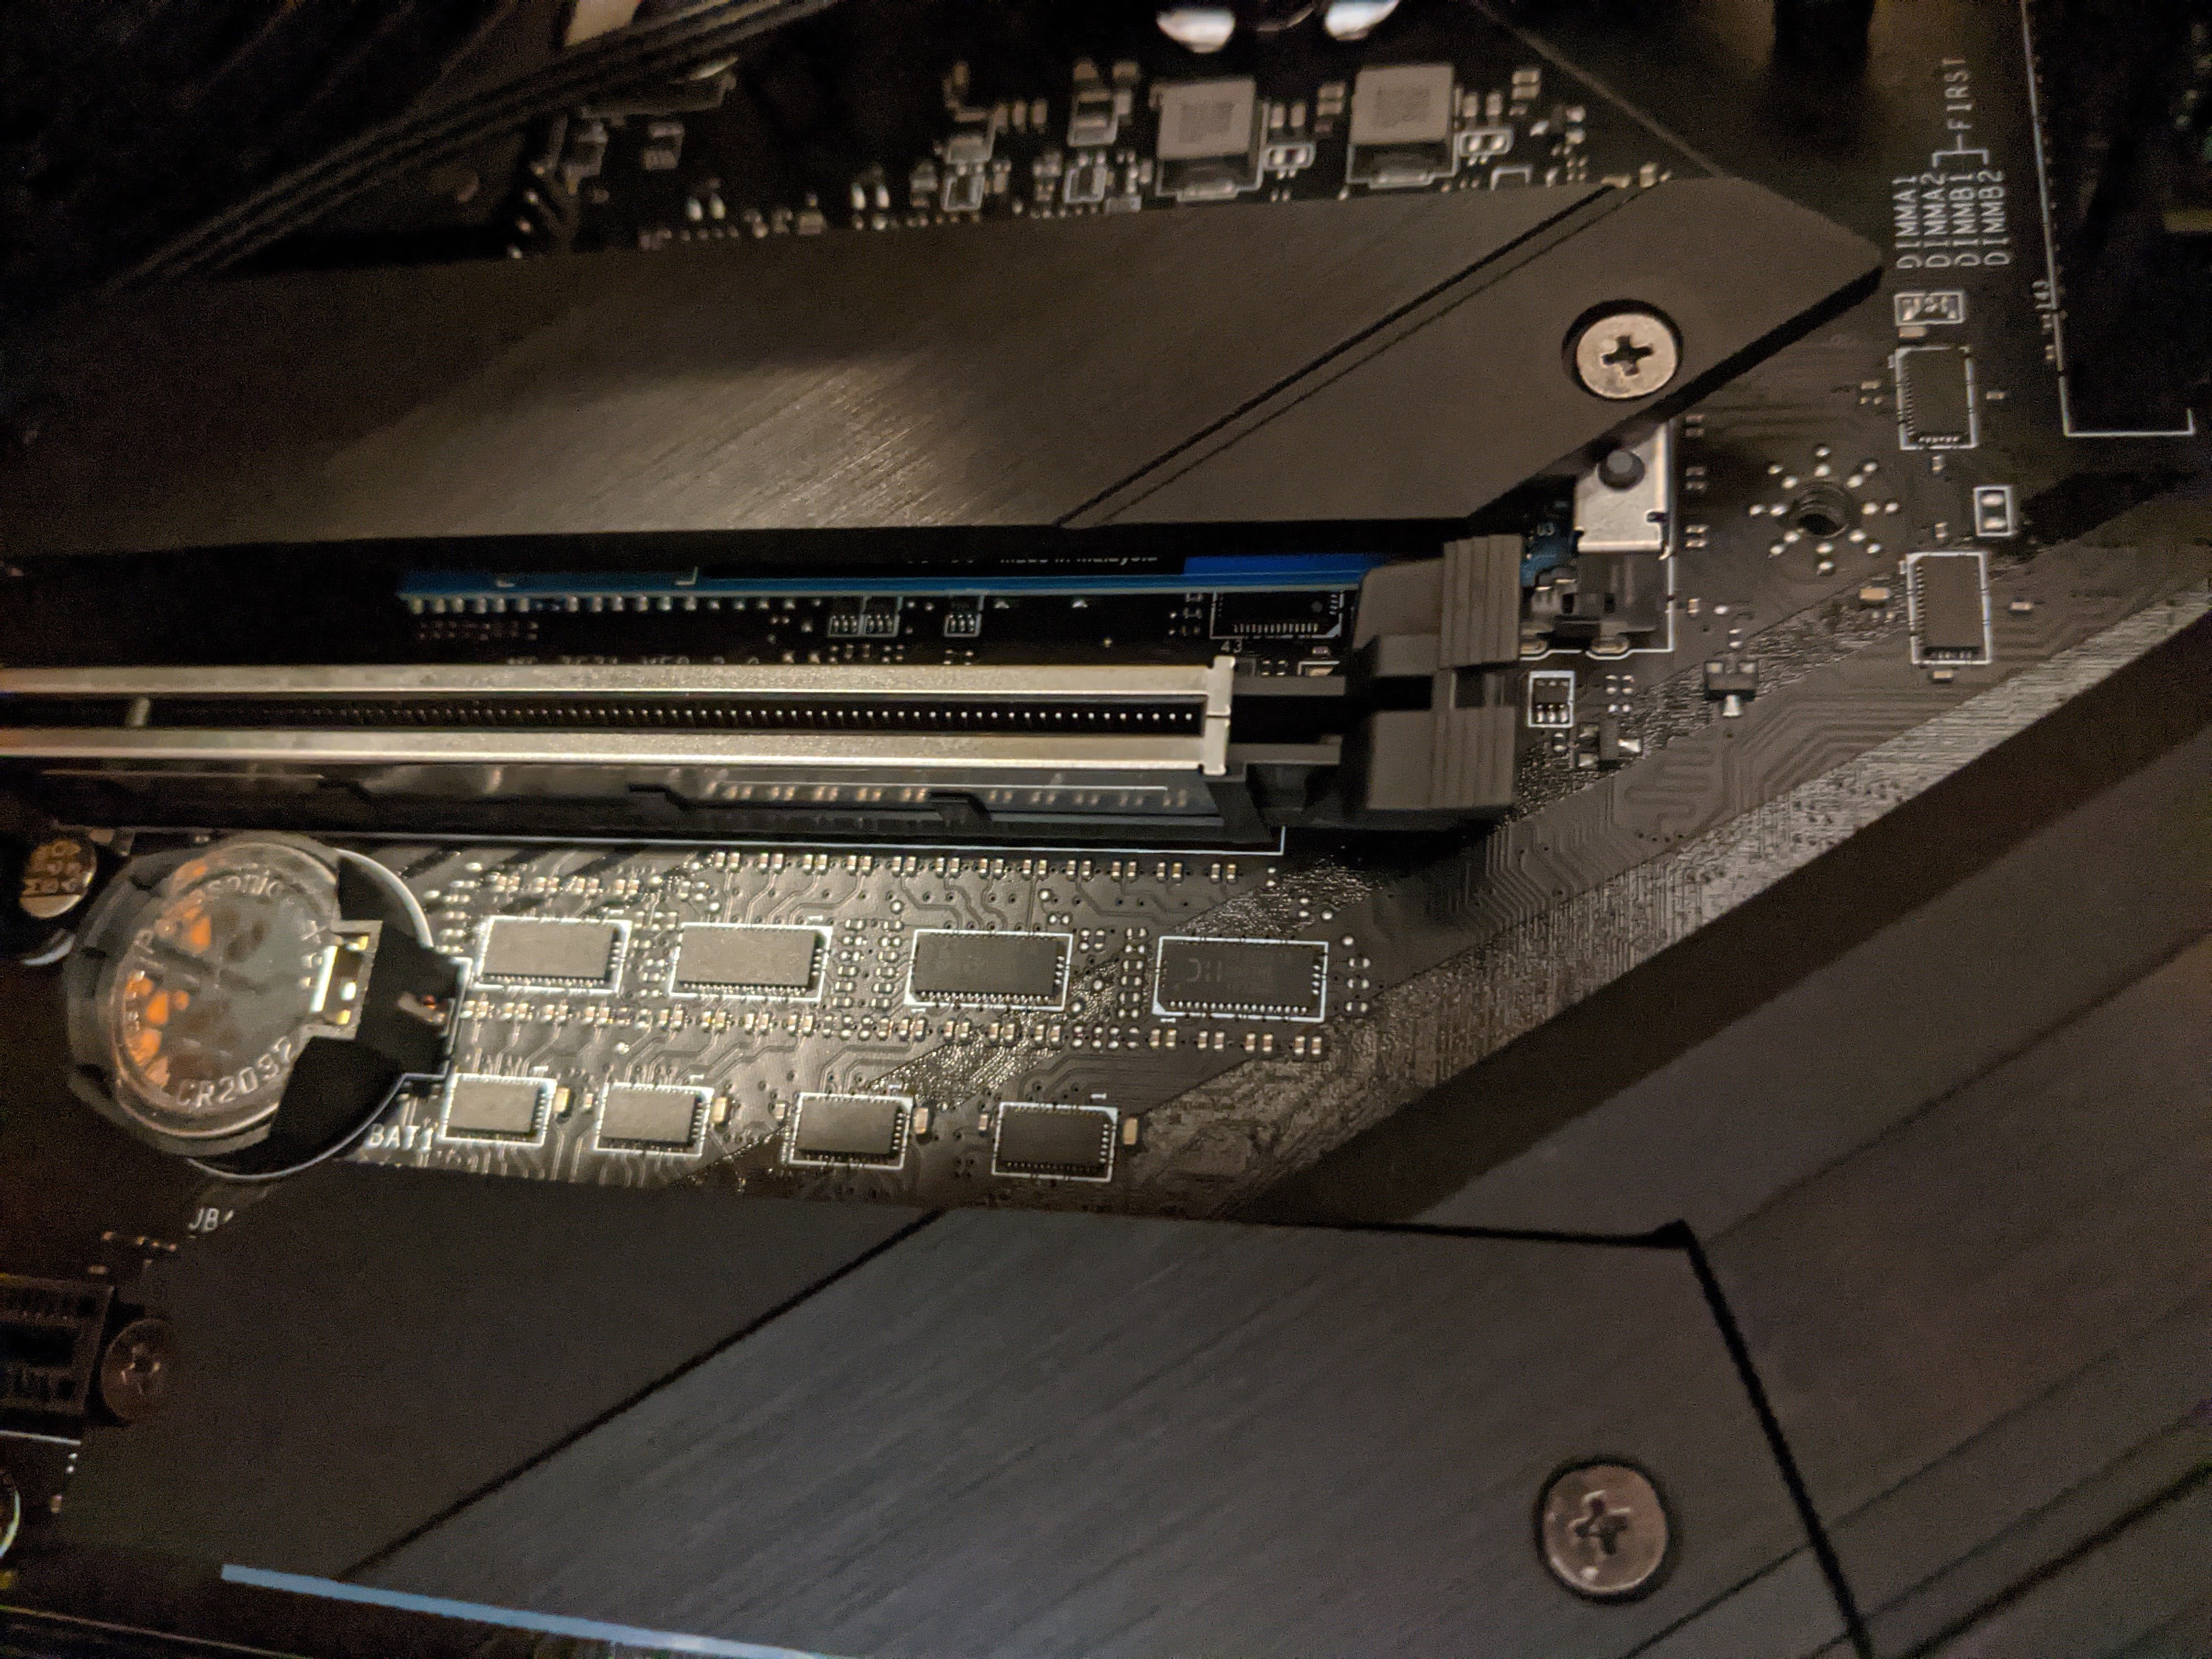
9. Install the GPU
Yet some other highly variable installation step, your GPU installation could vary considerably based on the device's design, size and power requirements. I was working with an Nvidia GeForce RTX 3070, for instance, which works all-time in a motherboard's primary PCIe slot and takes a single viii-pin power cable.
For such a large, circuitous device, GPU installation is usually very unproblematic. My only trouble here was getting the large carte to align in the relatively narrow, dark PCIe slot on the motherboard. There' no special trick here — merely make sure that the latch that holds the GPU in identify is down, and that you've removed 2 slots from the dorsum of your case to arrange the hardware. When it aligns, click it into identify with a little forcefulness.
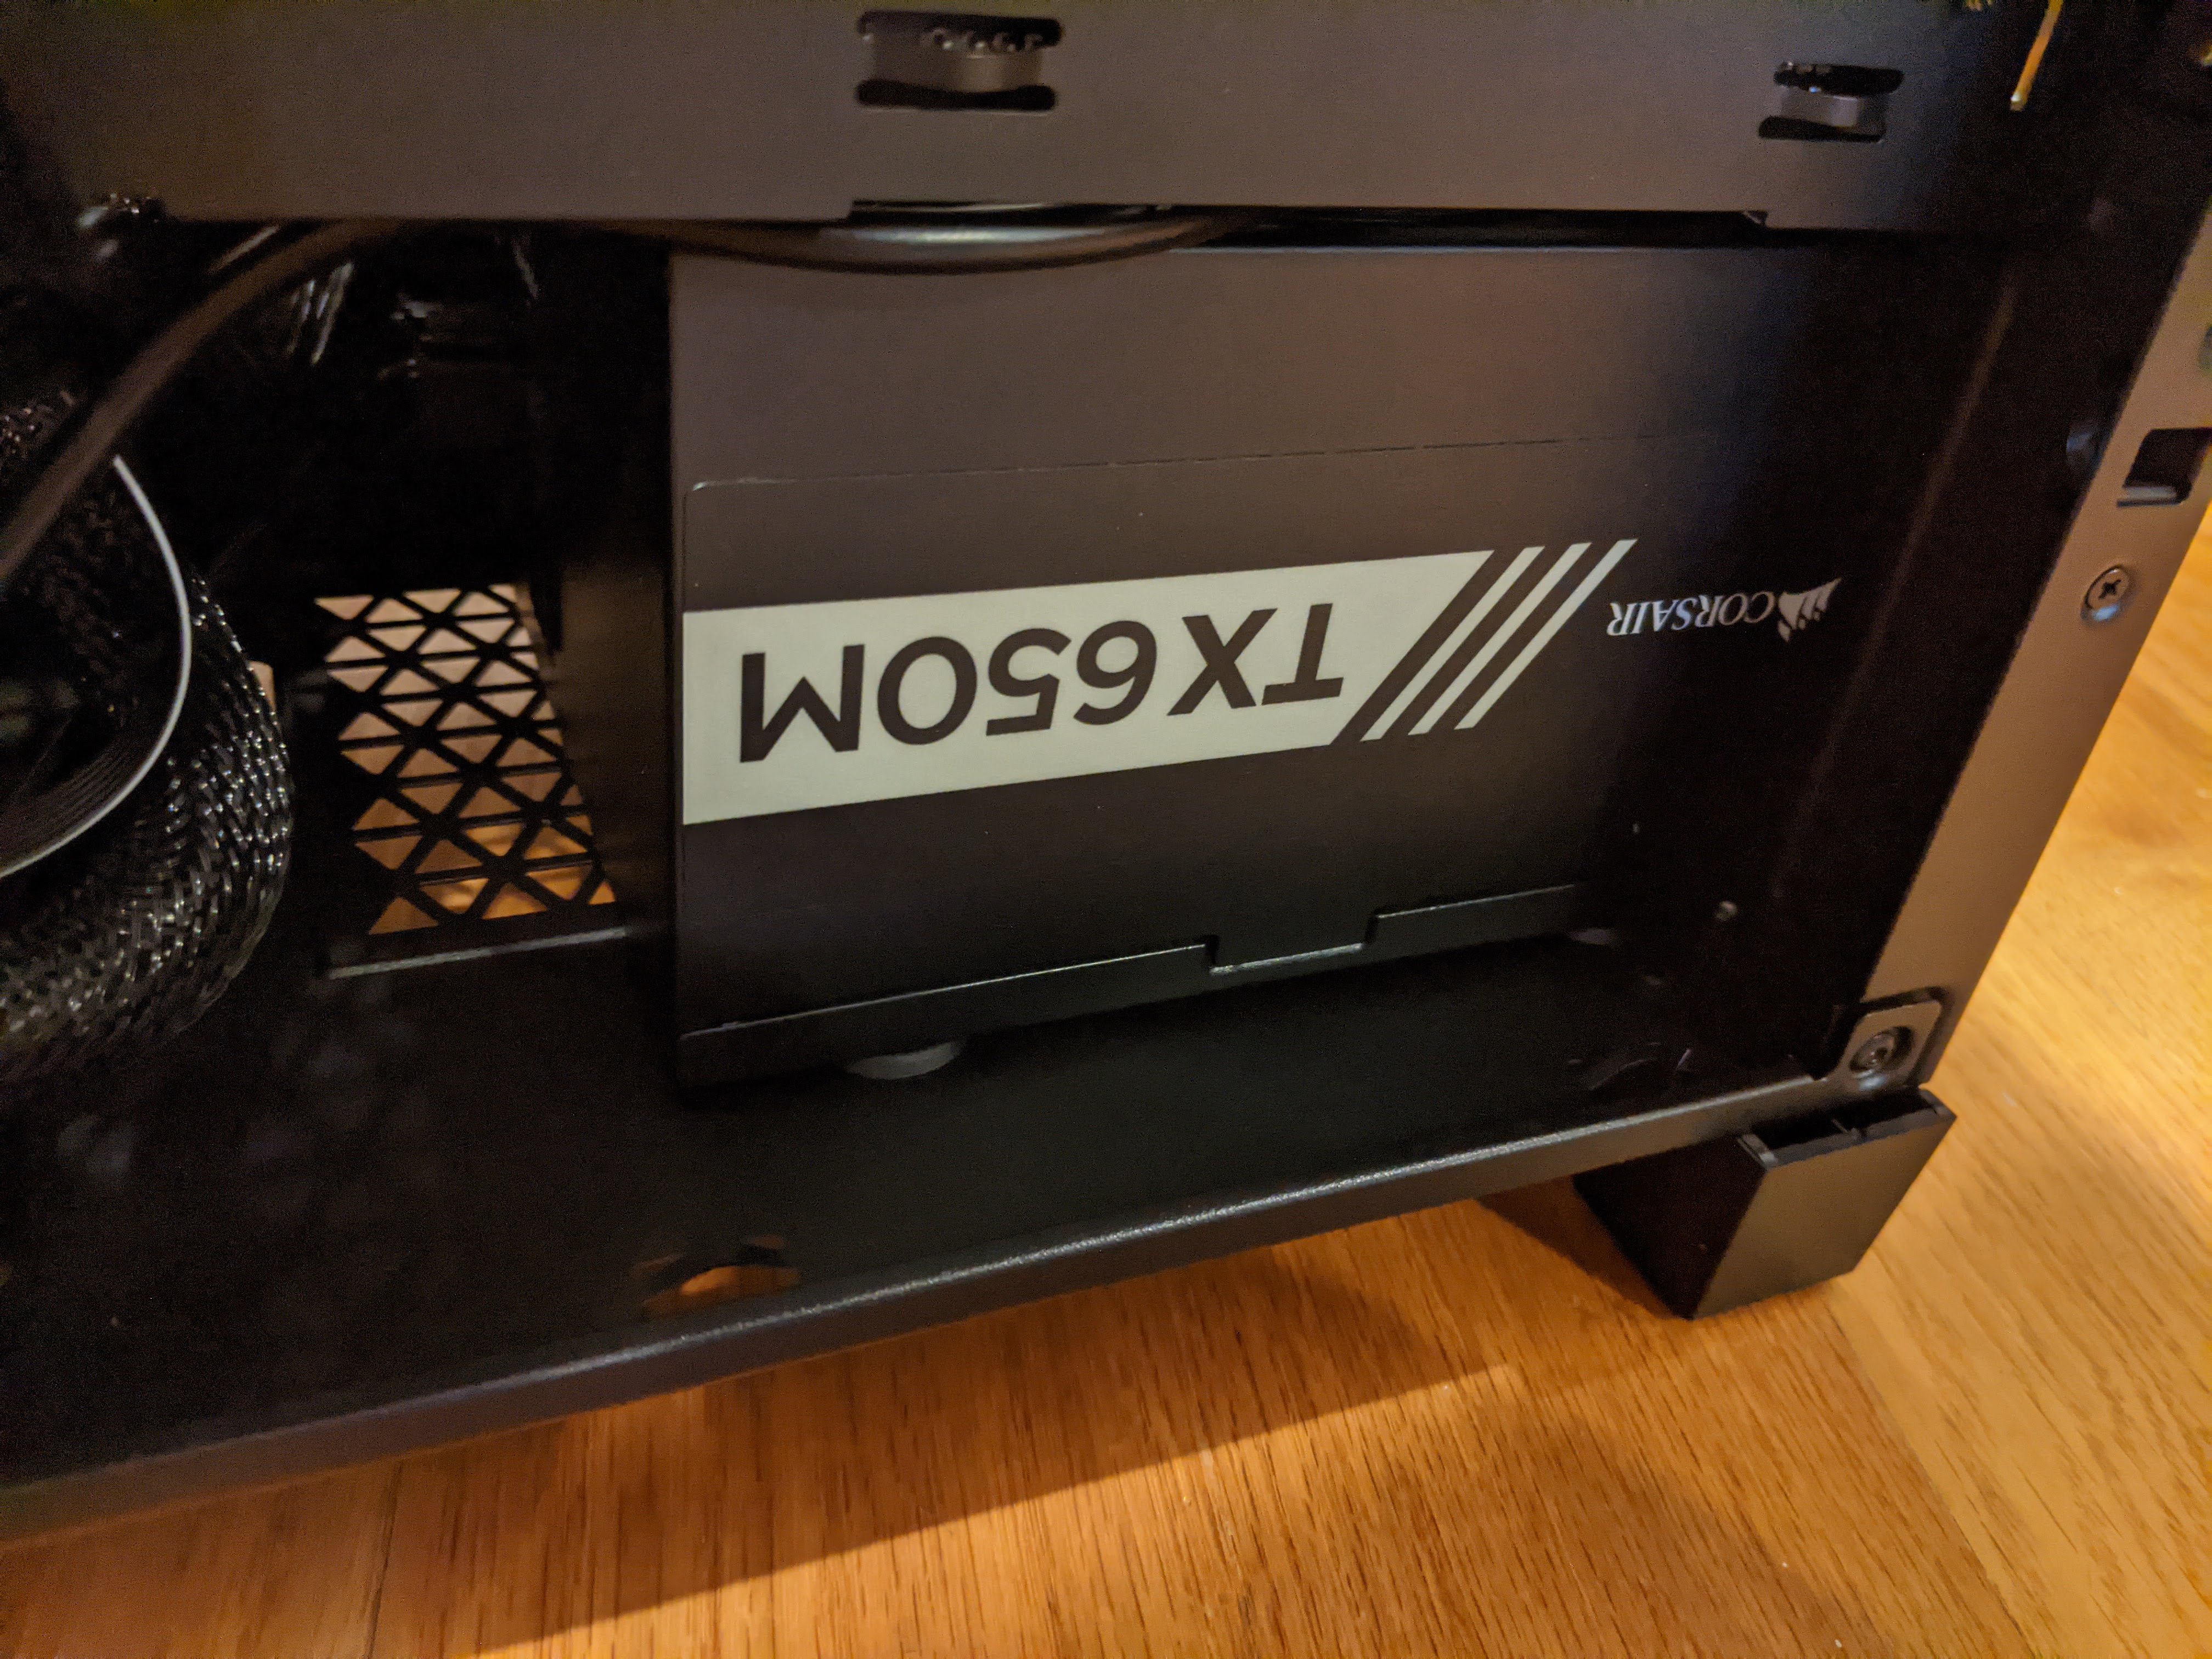
x. Hook up the power supply
Ane of the least fun but most necessary parts of building a PC is connecting your power supply.
Every case has a predetermined location for the PSU, so finding where it goes shouldn't be tough. Knowing which wires to connect and how to route them all, however, is a picayune tougher.
Generally speaking, you want to make sure that your PSU has one cablevision to power the motherboard, ane cable to power the CPU and one cable apiece for any other component not straight fastened to the motherboard. This includes each GPU, HDD and HDD-class-factor SSD.
The only trouble I ran into here was that I got a wire stuck in a tight space between the PSU and the case — subsequently I'd already screwed in the PSU. Just make certain that all your wires are free and articulate before yous apply your screwdriver.
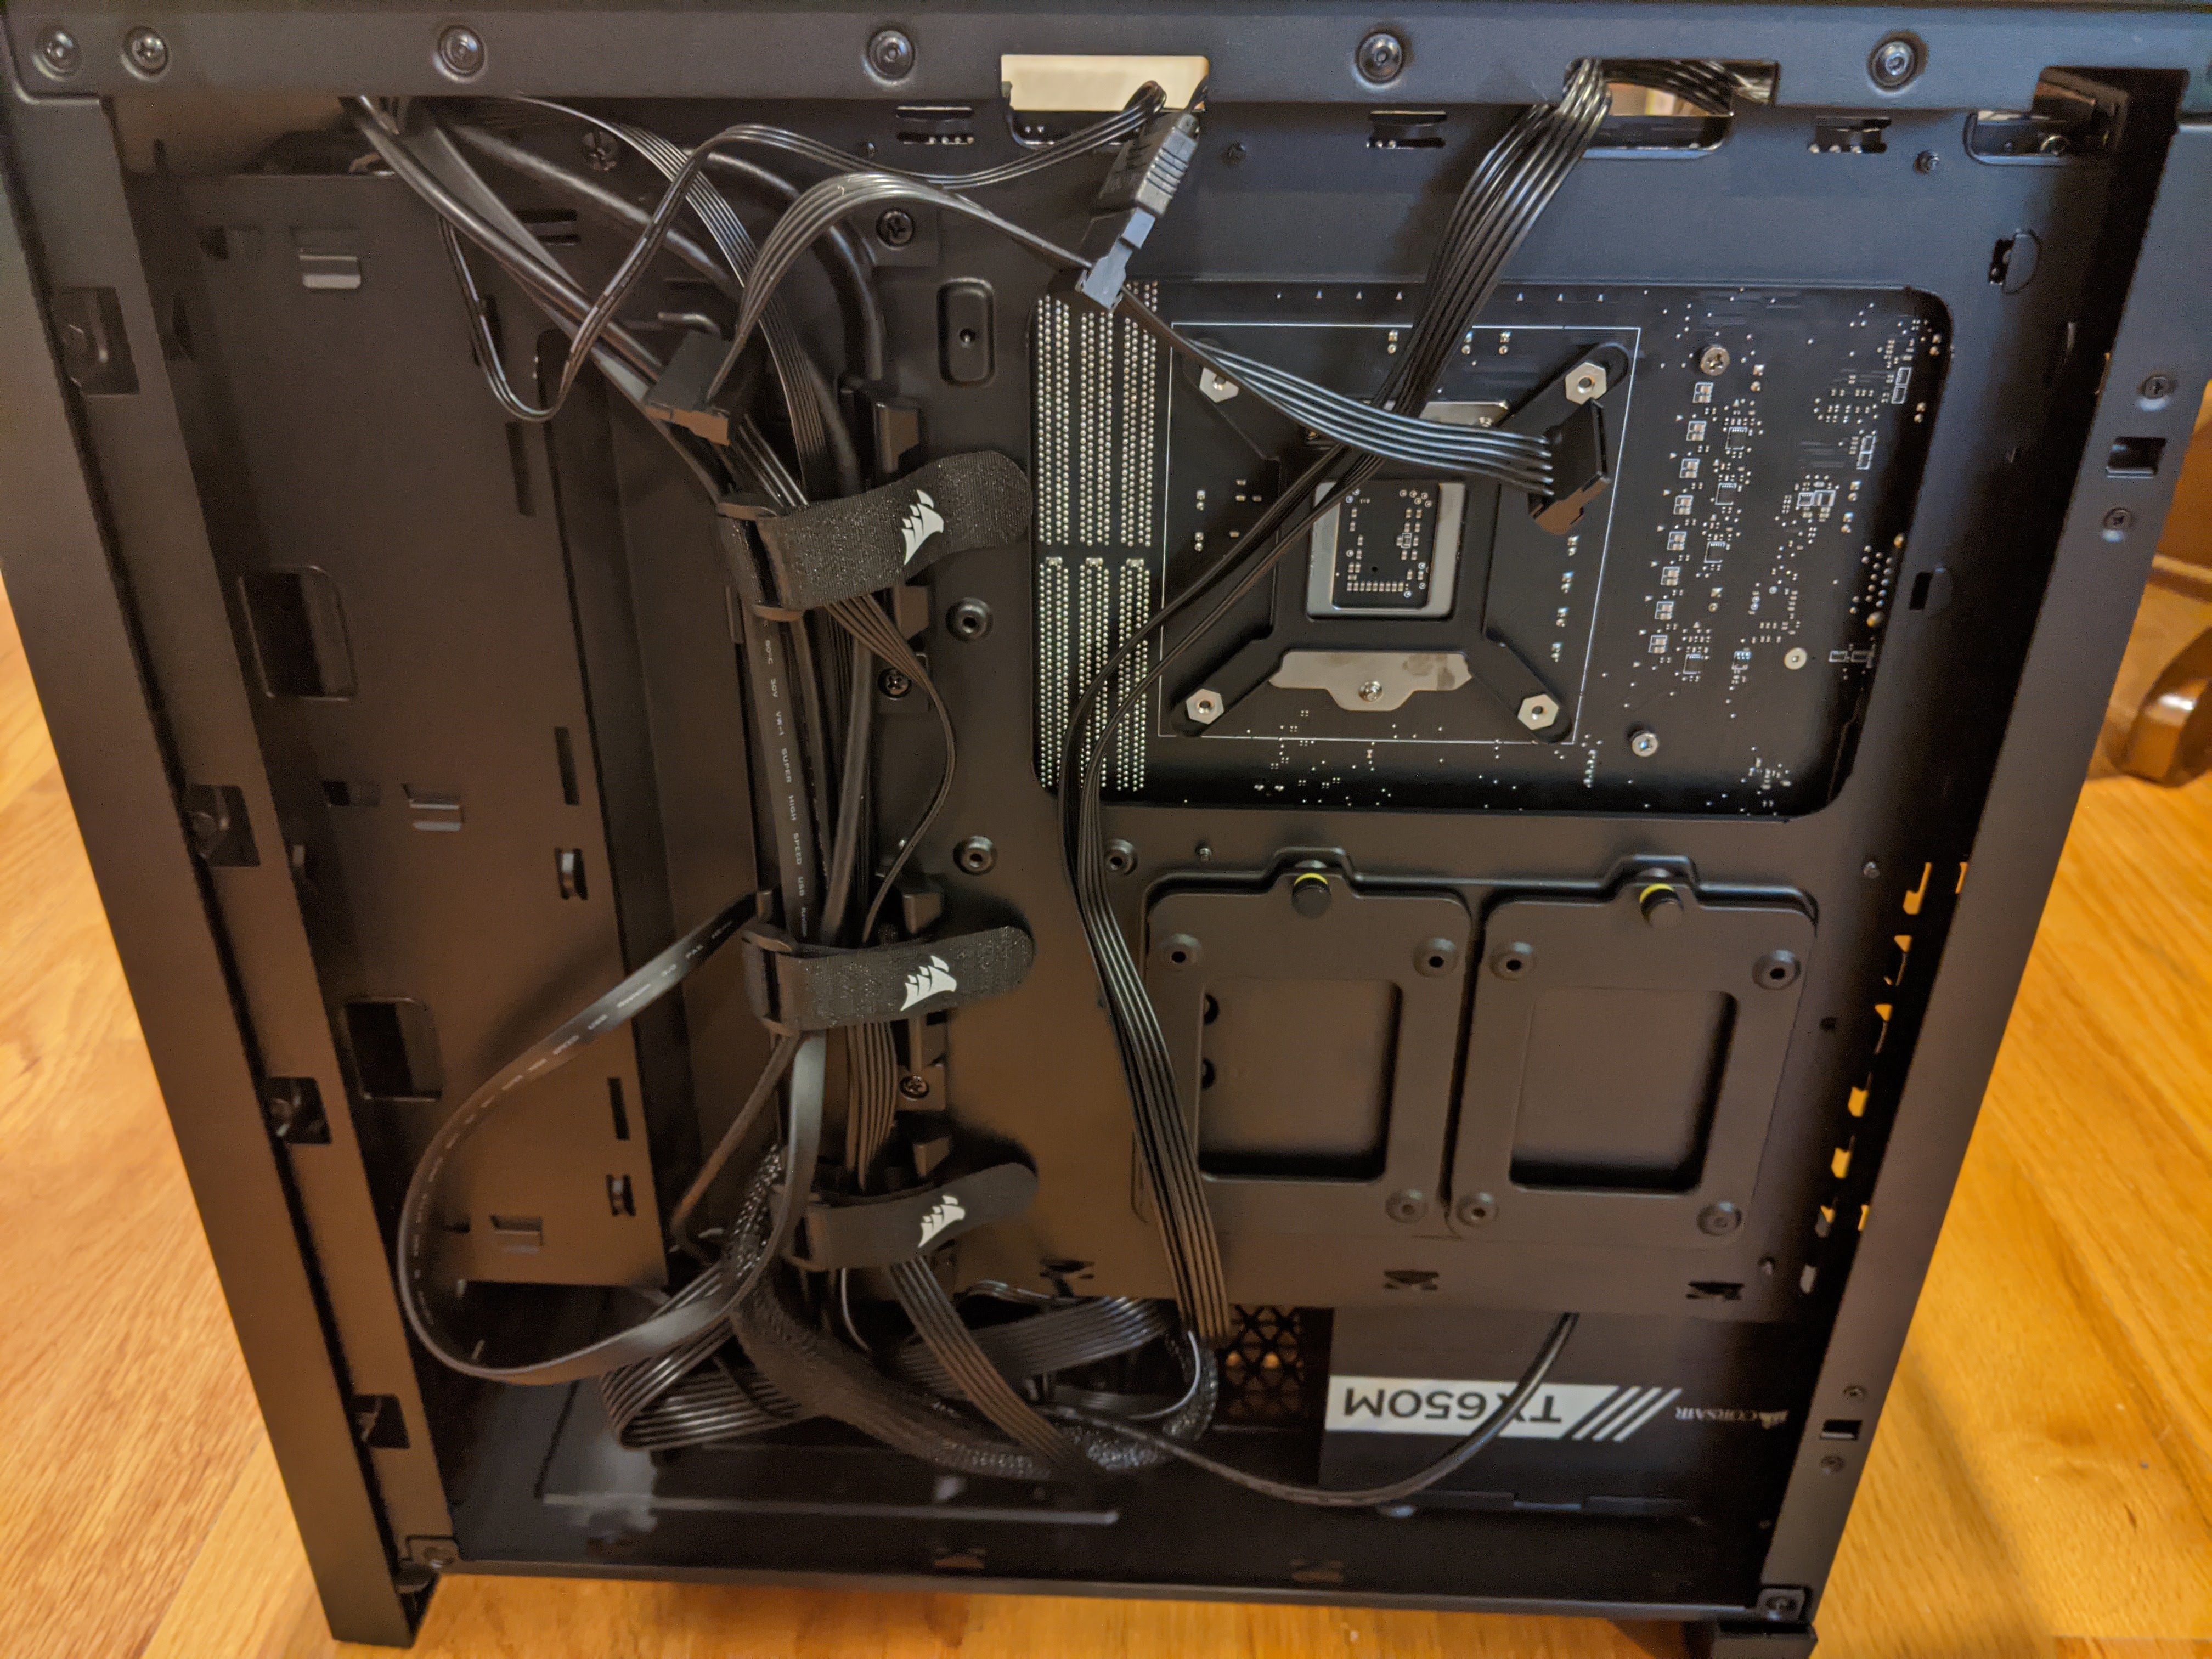
eleven. Connect (and prettify) your cables
If connecting all of your cables isn't the most difficult role of PC construction, it's at least the role that requires the most transmission dexterity. Everything that's not straight connected to your motherboard needs to be plugged into your motherboard or your PSU at this pace — GPU, storage, fans, front-facing USB and audio ports, etc.
The skilful news is that every cablevision has a clearly defined port on the motherboard or the PSU; the bad news is that the text is often tiny, and you may have to practise some manual gymnastics to get everything to fit together neatly.
Think: Ever connect cables to the closest possible power source, keep fan pathways every bit clear as possible, and don't cantankerous wires if yous can avert information technology. Modern cases tend to have cable routing around the back, so even if one side of your PC winds upwards as a horrible rats' nest, the other will wait make clean and presentable. More importantly, clear space promotes amend airflow, which means cooler hardware, which means better functioning.
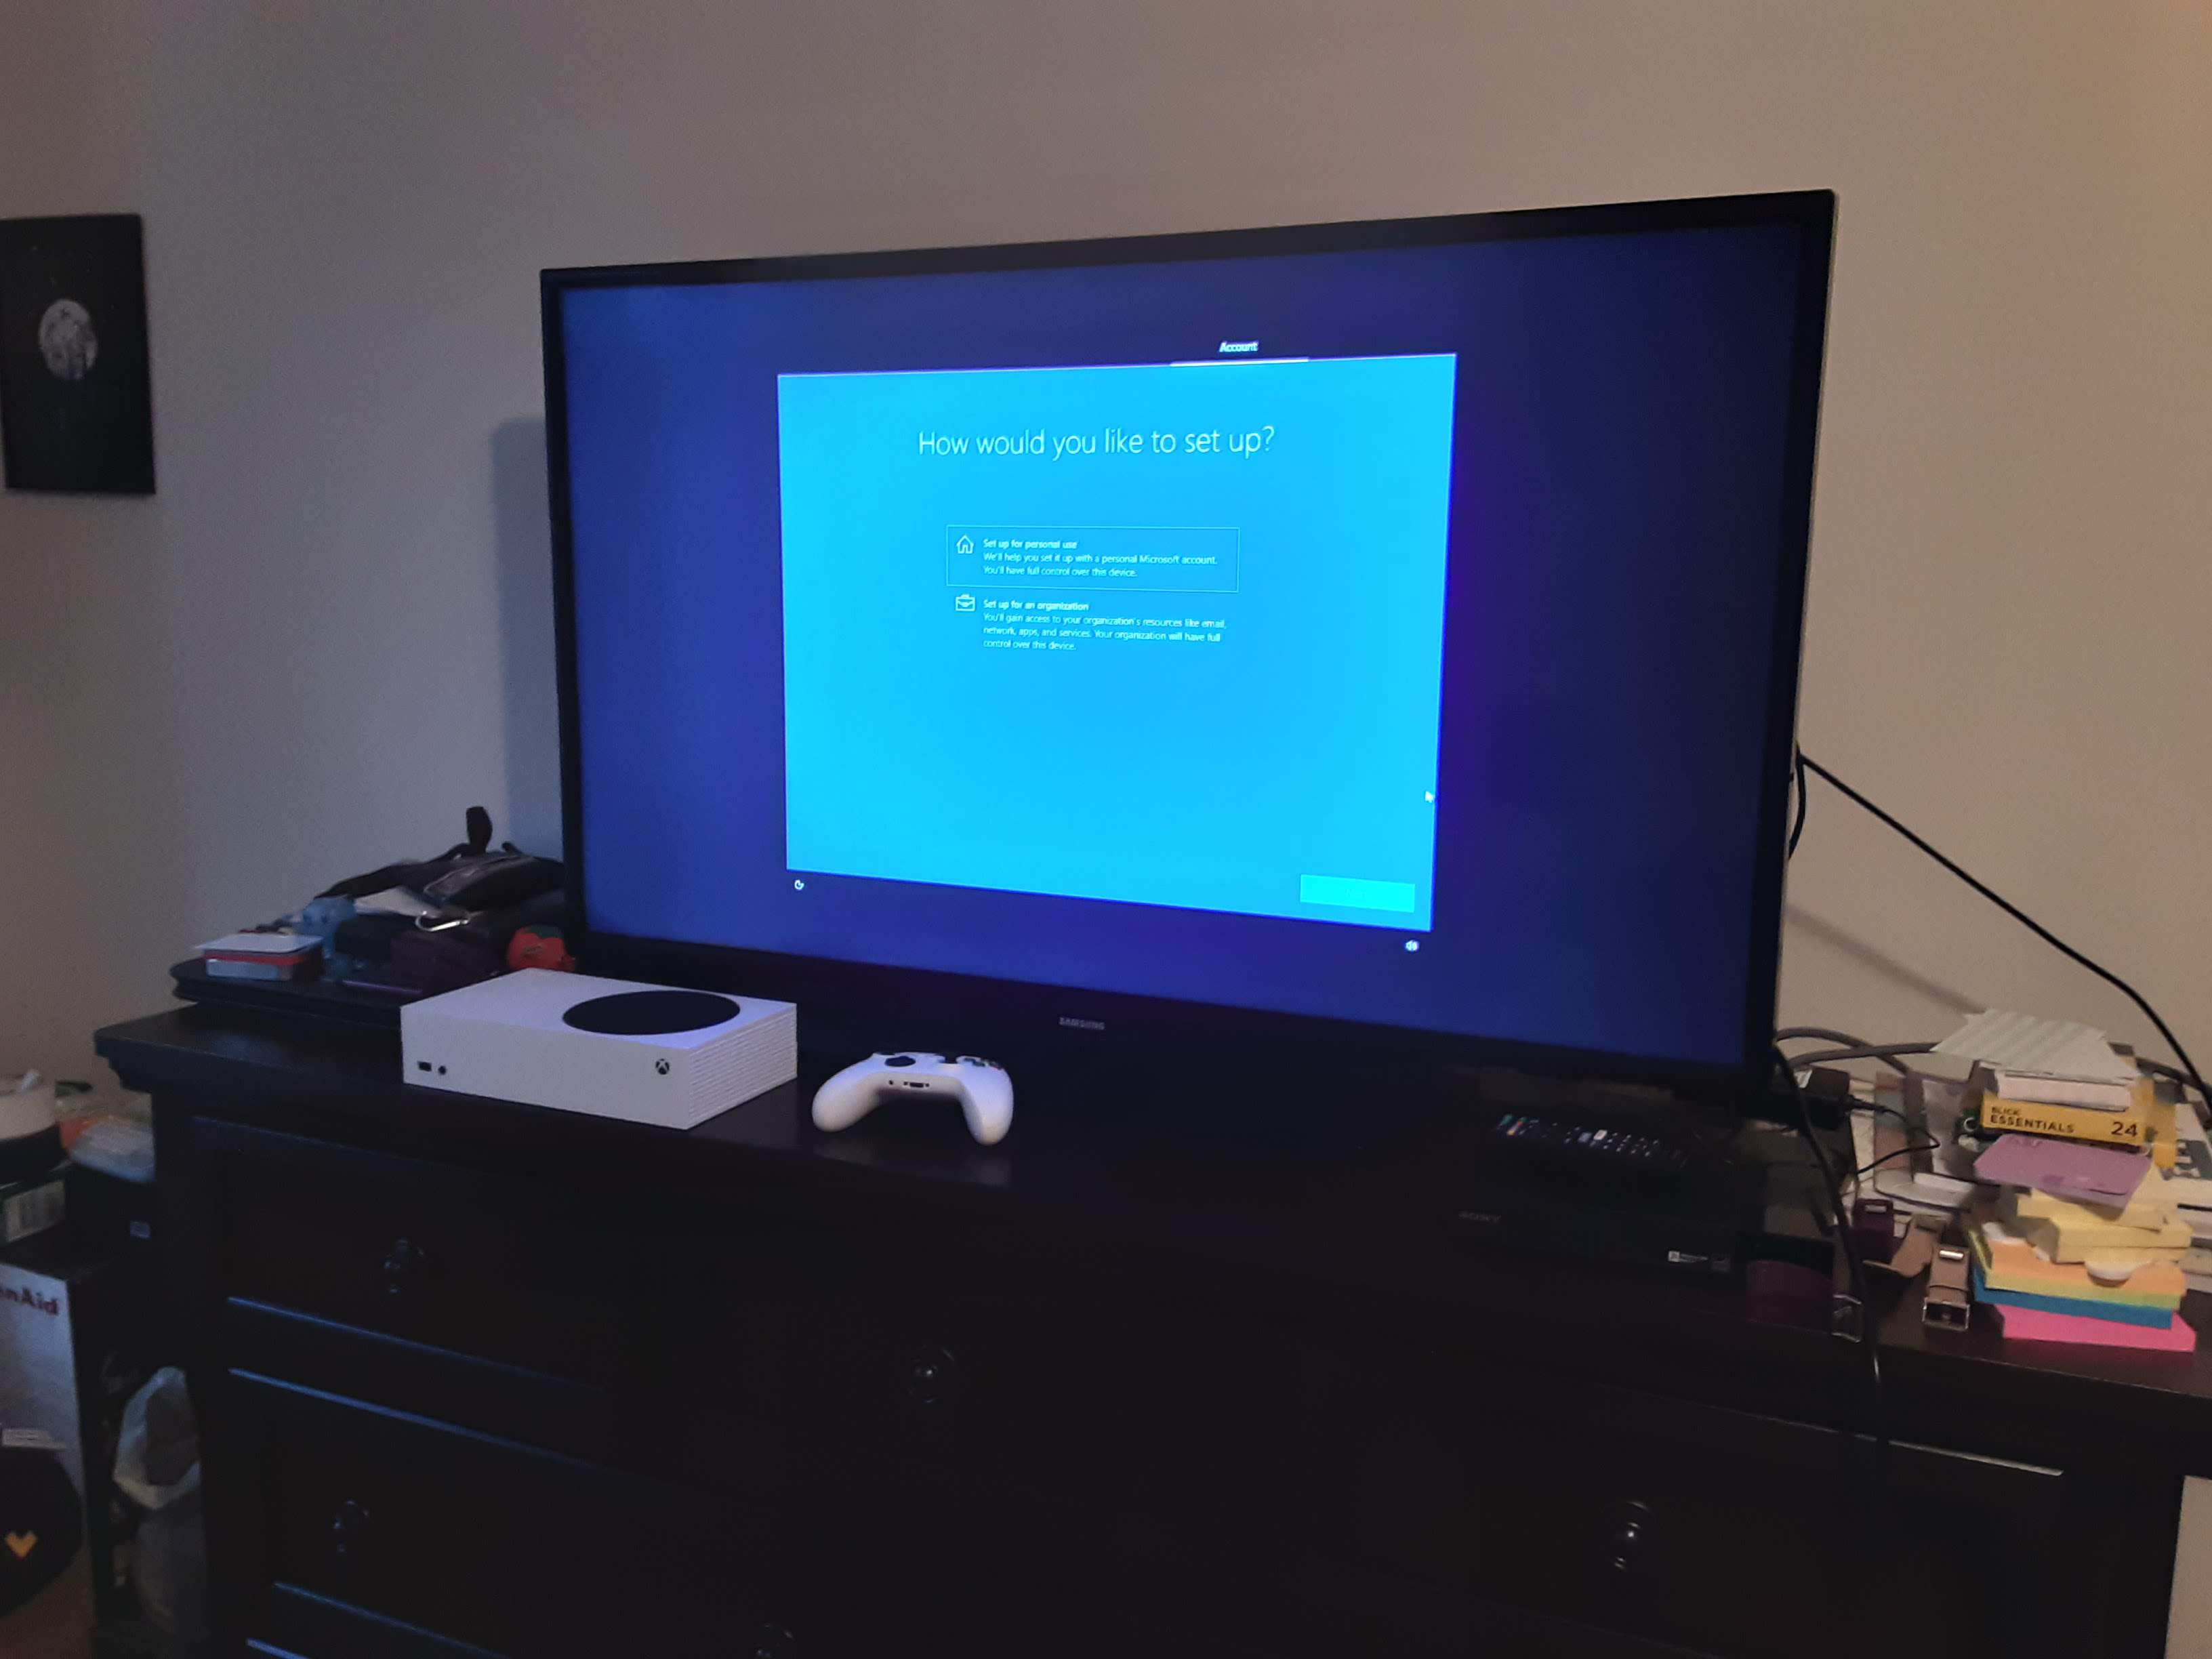
12. Kick up and get
If all of your cables are continued correctly, you should at present be able to boot up your PC by pressing the power button. Amend still: If you lot followed my before advice, yous should be able to install Windows and hitting the ground running. From here on in, it'due south just normal computer operation, so get out there and bask those games.
12. (Optional) Troubleshoot your gear
By following these steps (besides equally oft consulting didactics manuals, or more detailed guides if y'all get confused), you should now have a fully functioning PC.
Nonetheless, when I finished putting together our exam rig, I didn't. Our motherboard had a slight hitch that acquired the PC to start upwardly, shut downwards instantly, and so power up commonly instead of powering on smoothly. While hardware malfunctions are relatively uncommon, they can happen — clearly, they did to us.
I'll write a more thorough piece virtually how I discovered (and addressed) the flaw in our system, but the bottom line is that you've only constructed a make-new machine, and it should piece of work perfectly. If it doesn't, yous may merely take a limited corporeality of fourth dimension on your hardware'south warranties, so don't dawdle.
While a lot of things tin go wrong with a PC, there are a few common culprits. Attempt the following before you start repacking components and requesting shipping labels:
- Ensure that every cable is connected properly
- Press downwards on everything in a slot and make sure it clicks
- Especially your RAM
- Install the latest BIOS from your motherboard's manufacturer
- And set every value to default
- Clear the CMOS
- (This process varies considerably from motherboard to motherboard, so consult your instructions, or a dedicated hardware site)
Hopefully, this piece has inspired a first-timer or two to pick up that screwdriver and get their hands dirty. Edifice a PC isn't nearly as simple as just buying one, merely the procedure is rewarding, not to mention a whole lot cheaper.
Even though I was pretty out of practice, I got dorsum in the groove easily enough and I call up the aforementioned volition be truthful for most audacious gamers.
My one give-and-take of warning would be to bring Band-Aids (or Elastoplast for our UK readers). If you can get through this whole process without cutting at least i finger, my hat's off to you.

Source: https://www.tomsguide.com/news/how-to-build-gaming-pc-construction
Posted by: franklininfur1938.blogspot.com
0 Response to "How to build a gaming PC for beginners: Putting it all together"
Post a Comment